Showing posts with label love. Show all posts

Tuesday, February 14, 2023

happy valentine's day 2023

Lordy, lordy look who hasn't posted for two months! Not sure anyone cares, but if nothing else but to remind myself sometime down the road here's why... I'm not making as many cards lately. I make the occasional one that is necessary (Valentine for example) and otherwise use up ones from my stash. More on that later.


This was the Valentine I made for DD this year. I was inspired by something Heidi Swapp created. Did you see this fun piece in her reel? I love the little interactive window elements. I used another of Heidi's ideas from another piece and included "5 things I love about you." Three in the windows on the front and two on little pull out tags in a pocket inside.


I pulled out all kinds of supplies from my stash - PP to stamp on, stamps, dies, inks, colored pencils, twine. All the things. Loved the process. Hated the clean up :) 

On a side note, something keeping me busy lately is getting my stamps and dies into the Evernote app so that I have an overview of what I actually own. And for a project like this it would have been very helpful to use Evernote to see which Valentine/love/vintage etc stamps I own instead of flipping through everything.  I own a shitload, actually, but alas they're not all in Evernote yet. 

When I have everything inventoried, I aim to destash about a third of my shitload. Just keep watching ;) 

Here are DH and DS versions.


What has actually been taking up my time more recently is a foray into the world of memory planning. An oxymoron if I ever heard one, but I'm learning to live with it ;)

Are you a planner? I am the world's worst planner. Ever. So why would I get into memory planning? My cousin introduced me on to the Heidi Swapp memory planner world and by golly it's a great idea. It's basically scrapbooking daily life in a simple format - photo driven with some journaling to record the memories and some decorating just for fun. Heidi calls the process "Stop the Blur" as in keep track of everday life so when people ask you what you did last Tuesday you can actually answer. You can check out the idea here

So before jumping into it (and buying all the things) I decided to give it a try using a notebook from the dollar store and supplies I already have. I print photos at the drug store and pop them into my book often hidden in interactive elements. Here's a peek. 


Full disclosure, I just recently did buy all the things :) I've been enjoying this process this since last fall so I'm gonna make the switch to Heidi Swapp's memory planner format. If you are a memory planner, I'd love to hear any of your tips for a newbie!!!

Sunday, February 7, 2021

making valentines - part 3

During the pandemic I've dropped some little gift packs of homemade cards into people's mailboxes - my way of doing something in these weird times and I hope maybe they do something and send them on to people who could use a smile.

I recently had the urge to put together some love cards for my girlfriends since Valentine's Day is approaching. It's not nearly as popular in Germany as in the US, but people know what it is. I'll be sharing some not-your-typical-valentine cards the next couple days.

I don't actually have much in the way of Valentine's Day supplies, though I do have lots of "love" themed items. For my first design I pulled out a background stamp, heat embossed it and ink blended. Old school. SUCH fun. Added a fun die cut sentiment and voila!


The next card follows the same idea, I just added a great heat embossed sentiment from Cathy Zielske.


distress oxides, white satin pearl embossing powder


I'm playing at:
SSS Wednesday Challenge - Love is in the Air
SSS Monday Challenge - Love/Hearts


Friday, January 22, 2021

having the right stencil - part 2

Have you ever picked up an item and thrown it in your shopping cart without knowing when or how you were going to use it? Silly me, you're a crafter, of course you have! Well meet another stencil I picked up at my local dollar store a while back.

Mr. Bear. Had to go cool and wintry with him.

Action Deutschland stencil
Distress inks

SUPER easy. But having "the right" stencil helps too I guess.

Inspiration came from two places. I watched Channin P. ink up some layering stencils in a video and it got me thinking how I could incorporate gradient inking on normal stencils. Then I saw the Perfectly CAS challenge - use 1/3 of the card + stencil - and off I went.

I'm joining these challenges:
Poppystamps - Monochromatic (the sentiment is from Poppystamps)
Addicted to CAS - Snow (hope a snow bear is OK)
Perfectly CAS - Stencil

Wednesday, January 20, 2021

playing with pinkfresh floral square frames

Hello. I'm joining the January challenge again, which is basically 2020 in review! There is a link in the post to a larger version of this photo if you want to see what strikes your fancy.

Nathalie's creation for the challenge post totally blew me away. Go check it out - hers is the first project in the post! She was inspired by the June Die Cuts and Cut Files challenge. So I guess I was too. Mostly I loved her color choices, keeping plenty of white too. And the cool stenciled texture in the BG. Hers is a LO. 

Mine is a card. Here's my first one.

Pinkfresh Folk Elements die (just $5 right now)
Distress Oxides, embossing paste

Well my intention was to have the white X pattern all over the card front to tone down the swipes of ink. What I got was embossing paste that picked up the color of the inks. Anyone know - was this cuz the ink wasn't totally dry or is that just a property of the oxides?

I went with it anyhoo. Die cut the little folk elements to match the ink swipes. Added the sentiment using those wonderful alphas. Voila.

But I was still intrigued. Wanted white X pattern all over the card front. So I created this slimline and stenciled white paint and got what I wanted!


See the white pattern all over the cardbase in this close-up?


Otherwise pretty easy. Die cuts from ink-swiped CS. Little PP flags. Sequins. I pretended I was a scrapbooker and brought out all the embellies ;)

This card was not without an oopsie either though. Did you notice it???

I'm playing at:
Make my Monday - Hello (1st card)
Happy Little Stampers - AG with Dies (1st card)
Die Cut Divas - Frame It (2nd card with those floral square frames)
Bastel Traum - #97 Love (2nd card)
Country View Challenges - Squares (2nd card)


Saturday, January 16, 2021

simon says stamp - better together slimline friends

There's a new release from Simon Says Stamp called Love You, Too and there's lots to inspire cards to spread love around the world during these strange times. Check it out here.

One of the stamp sets in the new release is called Better Together Slimline Friends, although it's not just for slimline cards I must say. Had to think a bit on this one since I'm not a colorer. Here's what I did. First, a slimline.

distress ink, Copics, white embossing powder

Stamped the gang, colored small sections of each kid to bring in color, die cut matching balloons and heat embossed them with tiny sentiments and added "strings" and added a spot of distress ink to hint at grass and sky. Voila!

And since I've been bit by the pop up box card bug lately (check this out), I figured I'd make one with this gang.


Adds such a fun factor to card sending, don't you think?

Cut and scored white CS to make a 7x7x7 cm pop up box. Stamped it with a couple of the sentiments from the set. Added PP squares to the inside flaps, as well as a couple die cut elements to add to the love/fun factor.

Then on to the gang. I stamped and colored them like for my slimline card. Fussy cut them. Adhered them to plastic strips which I adhered to the inserts inside the box. Also added balloons with the tiny messages. And finally some "grass" (so glad I bought the herb scissors at Aldi last year! ;))

Check out all the makes with the products from the Love You, Too release in the gallery here. And don't miss the blog hops this weekend. Thanks for visiting.

I'm adding my card to:
SSS Wednesday Challenge - Layer it Up 
Time Out - You (one thing about me... I'm really not afraid to try any technique, even though I'm not always the first on the bandwagon)


Thursday, March 5, 2020

guest designing at time out #156 - reminder

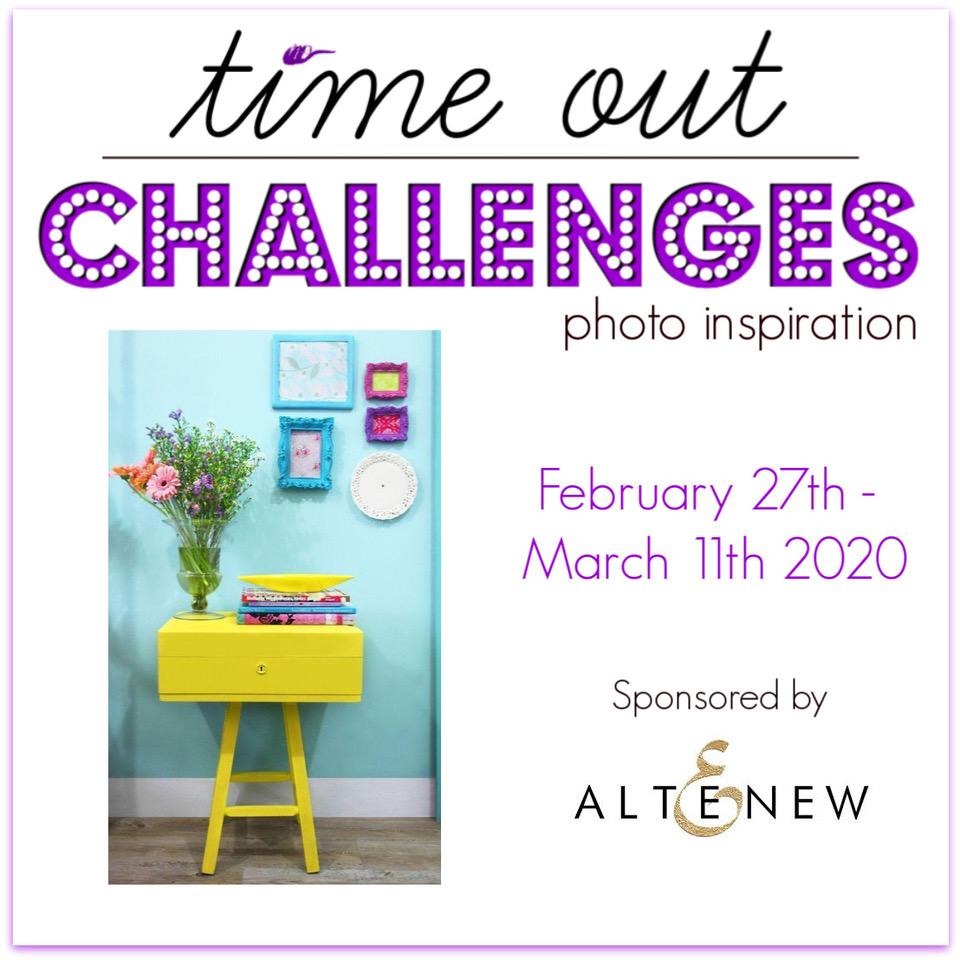
Popping in today to remind you about the photo inspiration challenge over at Time Out . Lucky me, I get to guest design with the talented DT this fortnight. Here's the fabulous inspiration.


I just love how that fresh yellow pops off the aqua, especially with those touches of white. (BTW, you can see a larger version of the photo over at Time Out.)

This challenge is kindly being sponsored by Altenew. I can't help but think of florals when I think of Altenew. Agree? I headed to my stash (whistled... ;) inside joke for Darnell) and took a look at my florals. I discovered that I had some leftover blooms in with the die and wouldn't you know it, the colors fit the bill. They're the colors of those cute frames on the wall in the photo.


All I needed to do was adhere the blooms on the background, a piece from my BG stash made by cleaning up some metallic gelato-y messes awhile back. And then die cut a sentiment from lemon yellow CS to mimic the console.


Again, thanks to Sandie and the design team for having me. It's such fun to be part of the inspiration post for this month's photo challenge. Have you played yet? I'm looking foward to seeing your entries in the gallery.

I'm joining the fun at:
Die Cut Divas - Anything Goes
Love to Create - AG Mixed Media
SSS Wednesday Challenge - Something Feminine
The Flower Challenge - Anything Goes


Sunday, February 16, 2020

fun with funky fossil quirky owls

Happy Sunday folks! I had some fun yesterday with some new stamps from Funky Fossil Designs (I was a lucky winner at Time Out and of course I had to pick up a few things while I was at the store ;).

My first play was with the Quirky Owls. They couldn't be more perfectly named.

I also picked up two stencils, 3D Cubes and Retro Starburst. Gave them a try.

First up, Mr Spectacled. Cuz, c'mon, isn't he the greatest? Decided to perch him on a 3D cube.


And Glossy Accent his specs. The sentiment die is STAMPlorations Skinny Sentiments.


So then I grabbed a soon-to-be released STAMPlorations stencil, inked up a cloudy night sky, added some starbursts to it with gold embossing paste and let Mr Bow Tie soar through the night sky.


I cannot get enough of that gold shimmer...


Then I figured I better try to be a bit more girly with the owls and used distress oxides for a background. When I inked through a STAMPlorations Hearts all Over stencil over the inked background, you can barely see the tone-on-tone hearts. Either my BG was too heavily inked. Or maybe it's an oxide thing.


Since the owl and sentiment (5 Love Words) seem to be just floating through that dreamy sky, I opted for a hint of a nest with some black thread. The sentiment continues inside.


Fun, fun, fun. I just noticed Sarah is having a sale at Funky Fossil. 15% off until midnight Feb 17.

Thanks for stopping by. I'm stopping by at:
Creataive Friday - Valentine/Hearts (the hearts are stencilled onto the BG of card #3)
Penny Black and More - Animals, Birds, Butterflies
ATSAM - AG

Monday, February 4, 2019

CUTplorations february

One down, eleven to go! Welcome to February and to a new challenge over at STAMPlorations CUTplorations! Here's the inspiration for February. How could I not go with a heart, right?


image source: Magrikie

I hope there is something in this photo to inspire you. I could not help but go totally literal with my creation. (You'll see that several of the DT also chose a literal interpretation ;) But it was a great way to use up some of those gelli plate or inked pieces in my stash! 

STAMPlorations Trendy Spring Blooms die
STAMPlorations Hello Sunshine die
Sizzix Heart die

I started by die cutting the heart twice for my shaped card. Then I die cut a bunch of blooms. Took my heart and my pile of blooms and had fun arranging them on the heart. I let them overlap each other for additional dimension.  I used spray adhesive and trimmed the overhang off with scissors.

TIP: Trace around your shaped die with a pencil onto white CS. Adhere the blooms and then die cut the shape. This would yield a perfectly clean edge and press the blooms onto the white CS. I didn't do this cuz I first thought I'd leave some of the die cuts hanging over the edges. But I ended up not liking the look!

I hope you'll join us for some die cutting fun over at the CUTplorations challenge.  Create a project based on the inspiration using at least one die cut and at least one STAMPlorations product. Your project might be chosen as the winner of a $15 GC to the shop. Check out how the CUTplorations DT was inspired by this month's photo here.

And don't forget about my STAMPlorations discount code STAMPGIRLMARIA for 20% off should you find yourself shopping;)  Speaking of which, have you seen the new Bloomdala series??? Thanks for coming by. See you in the gallery.

I'm headed to the gallery at:
Simon Says Stamp Wednesday - Anything Goes
Die Cut Divas - Love is in the Air
Challenge up your Life - Love
Bastel Traum - Die/Stencil
Allsorts - Love


Tuesday, January 29, 2019

STAMPlorations inspiration #201

Welcome to another Tuesday inspiration from the STAMPlorations inspiration team where the team members feature stamps from one of our talented stamp designers.

Today I've chosen one of Designs by Shery Russ stamps to add a little something to my cardbase.  You can get 20% off when you place an order for this stamp if you use my discount code STAMPGIRLMARIA.

washi tape

After inking up a portion of the Plumerias stamp on my cardbase (inspired by Hannelie B.), I adhered a die cut PP rectangle. On this I arranged my pockets and then decorated them with the word and alpha die cuts. Added that sweet bloom to the center pocket. A couple washi strips balance the design and add a spot of gold.


Have you seen our CUTplorations inspiration photo for January? It was my inspiration for this neon design ;)

For more inspiration with the plumerias, check out this card.

Remember, you could win yourself a $10 GC to the store just by leaving a comment on the January inspiration posts. Check out today's post here. So happy you stopped by.

Cuz I tried out Hannelie's B/W stamping of the cardbase I'm hooking up at Die Cut Divas - Something New challenge. And I'm going to Papercraft Challenge - Bright Colors.

Tuesday, January 22, 2019

STAMPlorations hey love hop

No photo description available.

Red and pink. Yep, it's almost that time of the year. Valentine's Day is approaching fast and Shery has created a few fun digi images you can download for free over at STAMPlorations. Just for fun, some of us have whipped up some LOVE cards using the digis and other LOVEly products from the store. Check out the hop here and be sure to leave comments for a chance at prizes.

I had some fun with one of the digis. First with colored pencils. And inspired by this milk carton! You know messy watercoloring. Well I'm calling this messy pencil coloring.

pearls (WHAT? when was the last time you used pearls???)


 And how's this for a non-coloring coloring option? Color with gilding flakes! I added some glue to various areas of the blooms with a paintbrush and added the flakes when the glue was tacky. TIP: Avoid covering any of the black lines with glue/flakes to not lose definition.


To make the bouquet stand out more from the background, I masked it and added some black splatters. I also added a shadow around the entire bouquet with a C1 Copic marker. I love how this digi can easily parade as a stylish birthday card. 

Sorry this close-up looks gray rather than bright white. But you can see all that attention-grabbing shine from the gold gilding flakes...


I'd love to see what you do with the free digi stamps. There's a linky party where you can hook up your creations. There are prizes to be won there too.

All products in the Love/Spring section of the store are 15% off until Valentine's Day. Use my code STAMPGIRLMARIA for an extra 20% off!

Happy Tuesday! I'm heading to:
A2ZScrapbooking - January AG
Just Add Ink - Something New (adding gilding flakes as a coloring medium)

Thursday, January 10, 2019

simon says stamp - outline clustered leaves

The latest release over at Simon Says Stamp is called You are Loved and has hearts in every way, shape and form for you. I'm late to the party but I was soooo lucky to get a beautiful die to play with and today I have my first creation for you. Thanks Simon!


Meet Outline Clustered Leaves. (You might remember her sister, Clustered Leaves.)

Meet my card.

distress inks
pearlescent embossing paste
sequins

Here's a close-up. Texture. Sparkle. Shimmer. Pretty girly, eh?


It all started with the cheapo makeup brushes I bought at the supermarket. I created this BG using them and Victorian Violet, Milled Lavender and Aged Mahogany DI. Sprinkled with water and perfect pearls mix too.

Then there was this PP pad that fell into my basket at the dollar store (Action, for those of you in Germany). This PP matches this color scheme perfectly so I die cut the outline leaves from it. Before adhering the die cut, I die cut Clustered Leaves to make my own stencil. I applied the embossing paste through it.

When it was dry I adhered the outline branch, a couple of the leaf pieces and the die cut sentiment. It's dark gray actually. Some sequins add to the wispiness (is that a word?) of the design.

Be sure to check out the release if you haven't, and all the makes with it in the gallery at Simon Says Stamp. I'm happy I got to have some "fun" with this new set.

I'm playing at:
Card Concept - Pink Party (I've gone mixed media with the pink tones and a touch of charcoal)
Time Out - Loving
SSS Work it Wednesday - December Try Something New (my die!)
SSS Flickr challenge - Stencil it (yep!)