Tuesday, October 29, 2019

STAMPlorations inspiration #239

Did you celebrate with us last week at STAMPlorations' 6th Birthday bash? There's still time to join the party - check it out here. Can you believe it's already the last Tuesday inspiration from the STAMPlorations inspiration team for October?

Remember how I used a gelli background from my stash for my previous cards this month? Well today's card doesn't, but it uses up a circle and leaf I'd die cut in my creating. I had thought I would back the circle on this card with an extra layer of CS, but then decided against it. So I pulled out some PP and put the white pieces to use.


Must admit I had no plan for this design. I flipped through my PP pad holding the circle over the papers and liked the dark purple. Thought the circles complemented the circle die cut too. Opted for SSS Lavender ink for the leaf and sentiment. I do love how the vertical sentiment fits the PP square perfectly.

As for the embellies - eh. One of those "more is more" mishaps. I started with just a little bow. Was boring. Went for the wild tasseled look which also complements the sketchy style of the PP. The sequins may have taken the whole thing over the top though. Ya live, ya learn.

For further inspiration with this die check out this card.

You could win yourself a $10 GC to the store by leaving a comment on this month's inspiration posts! Check out today's post here. And I'd love it if you used my STAMPGIRLMARIA discount code for an additional 20% off anytime you're placing an order from the store.

Thanks so much for stopping by. 

Friday, October 25, 2019

STAMPlorations 6th birthday - cover plate dies


Howdy peeps and welcome back to day 5 of STAMPlorations' 6th birthday celebration! Have you been enjoying the new products  - stamps, dies, stencils and stickers!

Today I have cards made with a new cover plate die - Doodled Birthday Cake.

First up - dry embossed.


I dry embossed the plate onto white cardstock and added a die cut and stacked Make a Wish sentiment that I inked rainbow-y. Used Copics to color the flame since it seemed to fit the idea of making a wish while blowing out the candles.

Then I die cut the cover plate from craft foam and used it as a stamp! Love stretching my supplies with this trick.

First off I attached it to my MISTI with temp adhesive and inked it up with Versamark and stamped and heat embossed it. The right hand side didn't make contact with the paper properly but I left it as is and it made for the perfect place to park my sentiment, don't you agree?

I blended Tattered Rose, Carved Pumpkin, Squeezed Lemonade, Bundled Sage and Tumbled Glass distress oxides over the embossing for a nice pastel rainbow look.


And then I added a shim under the cardstock in my MISTI to ensure better contact with the thin foam stamp and inked it up with the oxides - stamping once for each color (the benefit of using a MISTI).


Hope you've enjoyed our celebratory week. And I hope you're celebrating with us. There's a Birthday Linky Party here. And you can add your Wishlist to this Linky Party. To see how you can win some fun prizes and also to see what the other gals have created check out this post.

Thursday, October 24, 2019

STAMPlorations 6th birthday - clear stickers


Welcome back to STAMPlorations' 6th birthday celebration!

Today I have two cards made with some of the new clear stickers being released - . I've created one girly and one not-so-girly card with Birthday Word Art.


I perused the stickers and immediately the cake on the first sticker reminded me of Sugar Rush so I pulled it out and stamped the cake randomly onto some PP that looks watercolored. Adhered the sticker to a rectangle of PP, rounded the corners, adhered it and some sequins and washi and called it good.

I love the mix of styles on the letters of the word "birthday" on the second sticker. It reminded me of the wonky birthday cake stamp I love so much so I basically did the same design. Knowing that alcohol markers are permanent on slick surfaces, I colored in the letters for a pop of color, keeping everything else B/W.

To see how you can win some fun prizes and also to see what the other gals have created check out this post. There's a Birthday Linky Party here. And you can add your Wishlist to this Linky Party.

Wednesday, October 23, 2019

STAMPlorations 6th birthday - sanna's stencils


Howdy peeps and welcome back for more STAMPlorations' 6th birthday celebration! We're celebrating with new stamps, dies, stencils and stickers!

Today I have two cards made with Sanna's new stencil - Art Flowers 1.


I've created two cards. The first incorporates an idea I had when I first saw the stencil. Anyone besides me see a ladybug in that design?


For the CAS card I masked off the surrounding area of the stencil and dabbed ink through one of the flowers. Then I added the little green "leaf" and a sentiment from  . Added the black dots with a Sharpie and voila!

Couldn't resist doing some autumnal tones ink blending for my second card. Topped it off with a stacked Grateful Heart die cut sentiment that was also inked.

Celebrate along with us. There's a Birthday Linky Party here. And you can add your Wishlist to this Linky Party. To see how you can win some fun prizes and also to see what the other gals have created check out this post.

Tuesday, October 22, 2019

STAMPlorations 6th birthday - better together


Howdy peeps and welcome (finally) to STAMPlorations' 6th birthday celebration! It's been awhile in coming but get ready for some fun new products in all categories - stamps, dies, stencils and stickers!


Today I have two cards made with a new set from Dee being released - Better Together. It's great for wedding or anniversary or even milestone birthday cards. I've created two sparkly cards today. Ready?

I apologize for the photo quality on the first one. I watercolored the cake with shimmering paints and they are so hard to photograph well.


Then I went extreme CAS, letting a bit of gold sparkle carry the card. I think this would make for a good 50th birthday or anniversary card.


I made two non-sparkly CAS cards too. The first was inspired by a recent Freshly Made Sketch.


And then I recreated the "Prosit" glasses design for red wine lovers using Aged Mahogany distress ink and adding some splatters.


There's a Birthday Linky Party here. And you can add your Wishlist to this Linky Party. To see how you can win some fun prizes and also to see what the other gals have created check out this post.

Monday, October 21, 2019

congratulations with hero arts peony

You know the "problem". So much NBUS accumulated and not enough time to try it all out. I took some time to play with new-to-me goodies this weekend and these two cards happened.

Are you loving all the strips of colored CS we're seeing lately in card designs too? Well after I'd given my dollar store (Action) rainbow die a run I had to continue with more Copic colored strips.

 Action Deutschland die
Copics

I die cut all the pieces from white CS. Copic colored a few of them with pastel colors and added a heat embossed secondary sentiment. A couple sequins for sparkle and this should make some little birthday girl happy.

Copics

This congratulatory card is off to a gal who just finished her bachelor's degree. Love the simplicity.

Come by tomorrow for some birthday celebrations...

I'm taking these creations to:
A Blog named Hero - October
Seize the Birthday - For Kids
The Flower Challenge - CAS

Friday, October 18, 2019

sympathy cards stamped with real leaves

I've got a set of stamped-with-real-leaves sympathy cards to share with you this Friday. It's true, once you start doing this, you cannot stop. I loved the serene look of the print made with the Smoke bush leaf, so I pulled out some pastel CS and this happened.

Leaves

And because I liked the simple design so much, and need sympathy cards so often... 


Have you tried this yet? 

I'm heading to:
Papercraft Challenge - Herbst/Fall
Inkspirational - #197


Wednesday, October 16, 2019

experimenting with stamping with real leaves

Maybe you saw my über CAS card stamped with real leaves? Today's post shares my first experiments with real leaves.

First I went out in the yard and picked various sized leaves from our Sweet Gum tree and the Smoke bush.

Then I grabbed the nearest PP pad (a recent purchase from Action - a dollar store) and a black Versafine ink pad. Inked up the reverse of the leaf and "stamped" it onto the corner of the PP panel. Clear embossed the images. Did this 4 times and then made 4 cards from the panels.

First up the Sweet Gum leaf.


Then the Smoke bush leaf.
This is such fun. I decided I liked the round leaf best. Keep watching to see what I did with it...

Tuesday, October 15, 2019

CAS cards challenge october reminder

Howdy friends! Have you had a chance to check out the three new monthly challenges over at STAMPlorations? I'm designing for the new CAS Cards challenge! Here's the inspiration for the month of October.


So the orange twist is purely optional, but I stuck with it and reached for some Thanksgiving place cards that were waiting to be recycled - the colors were perfect - and this happened...

embossing powder
square punch

I punched the most interesting area out of the place cards and aligned them down the right third of the card front. For a sentiment I die cut a brown "XOXO" thinking it supported the cozy, fall feel of my design.


Don't you love how the shine of the embossing powder adds interest to this CAS design? What's your favorite trick for adding a little pizazz to your CAS designs?

Loving your CAS card creations this month! If you play with us your project might be chosen as the winner of a GC to the shop. Check out today's post over at the STAMP blog to see more cards from the DTs for all three of this month's challenges. There's lots of eye candy to be had.

And don't forget about my STAMPlorations discount code STAMPGIRLMARIA for 20% off should you find yourself shopping ;)  Thanks for stopping over. See you in the gallery.


STAMPlorations inspiration #238

Welcome to another Tuesday inspiration from the STAMPlorations inspiration team.

I've another make for you made with a gelli background from my stash that I die cut leaves from. (Note to self: next time ink the edges of the leaves or stamp on all of them for more definition!)


Pretty self explanatory. I love that little sentiment (the inside reads "birthday") in the Birds of Paradise set and how it nestles into the pile of leaves. I doubt that owls actually perch on top of leaf piles, but what the heck.

For other ideas with this stamp set check out these cards.

As always you could win yourself a $10 GC to the store by leaving a comment on this month's inspiration posts! Check out today's post here. And I'd love it if you used my STAMPGIRLMARIA discount code for an additional 20% off if you're placing an order from the store.

Thanks so much for stopping by. Next week we'll be celebrating (belatedly) STAMPlorations' 6th birthday. Come by to see the new products and party with us. Actually you can already link up your wish list over at the STAMP blog...

Monday, October 14, 2019

stamping with real leaves

Have you noticed the stamp-with-real-leaves trend lately? I first saw it here and finally gave it a go today. I was also intrigued by the current challenge at AAA Cards.


Here's what I did.

Leaves
Liquid Platinum embossing powder


Isn't this just so cool? It's addicting. I'll be back with more...

Saturday, October 12, 2019

simon says stamp - more marie snowflake


Back today with more makes with the "Marie Snowflake" I got to play with for the Cheer and Joy release over at Simon Says Stamp.

Marie Snowflake die

I'm sharing my design process with you for the cards I created using this snowflake die. As I mentioned earlier I googled Christmas trends for 2019 and this site provided all the inspiration I needed to jumpstart my mojo.

Next up is Simple Christmas - actually a decorating trick I love to use. A branch to hang things from.

Christmas Decor Trends Of 2017

SSS Marie Snowflake die
white embossing powder

This is my favorite design of all five. The simplicity of the pine branch with the stark white... and that yummy gold flake. I couldn't distract from that with a sentiment, so I heat embossed my sentiment along the bottom edge in white too. See it?


And then... I'm calling this one Farm House Christmas - as in Joanna Gaines kinda farmhouse ;)


 SSS Marie Snowflake die

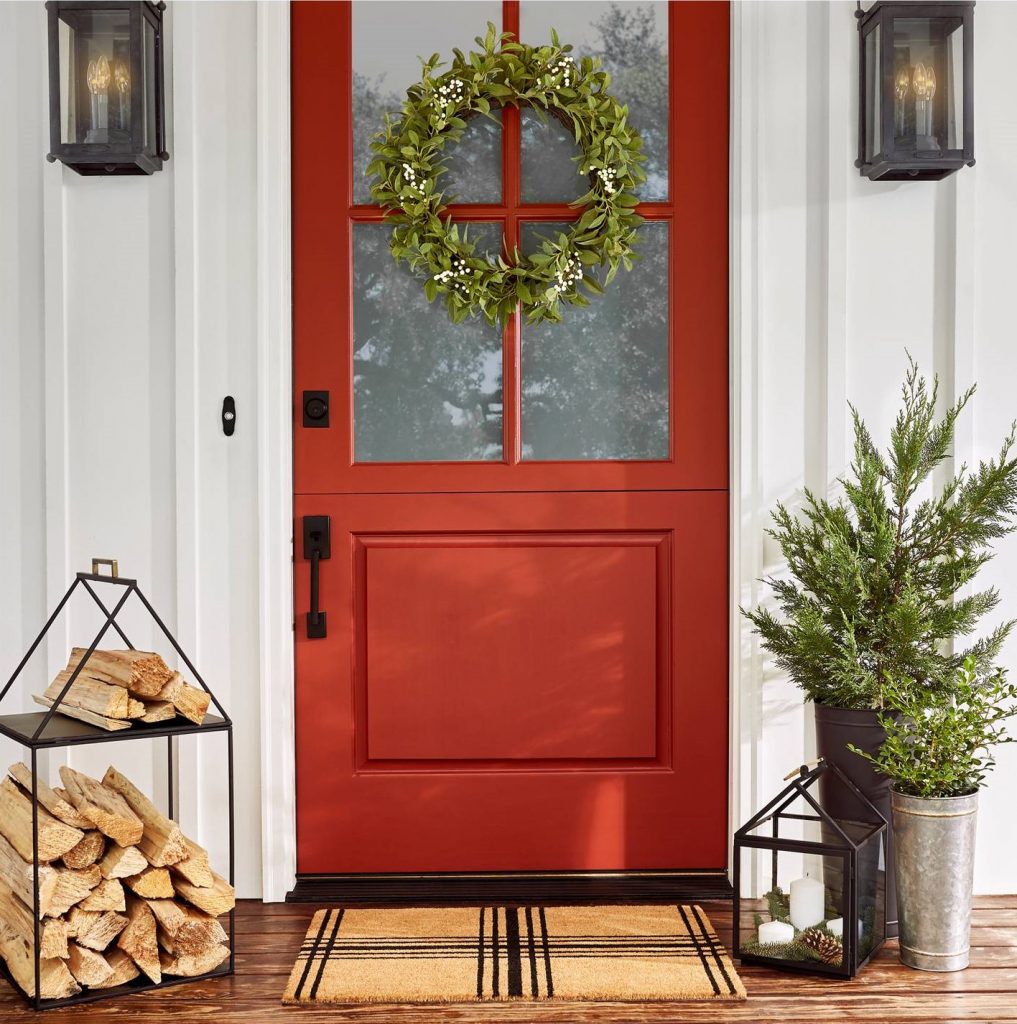
I love that door mat. Perused my PP stash and found this pattern. Of course you could stamp yourself a plaid on kraft too. Added another PP with a touch of red, a white snowflake and a green wreath to wrap around it. A few sequins finished off my design.


This next card was born from the same PP pad. Just took the kraft up a notch with the black and gold, having seen so much of it in this Christmas trends post.

 SSS Marie Snowflake die
gold embossing powder

Since I'd chosen this busy background I backed the two black snowflakes with a circle from another PP to block out some of the busy pattern. I also chose to leave the cut pieces in the gold die cut for more shine. 


Hope you've enjoyed seeing how Christmas trends led me to these designs. You can check out all the new products in the Cheer and Joy release here and all the lovely makes with the products in this gallery.

Thanks for stopping by. I'm stopping by at:
Winter Wonderland - Merry and Bright
SSS Wednesday Challenge - Christmas
Happy Little Stampers - Christmas with option of Twinkle
Related Posts Plugin for WordPress, Blogger...