Showing posts with label Paper Smooches. Show all posts

Sunday, February 7, 2021

making valentines - part 3

During the pandemic I've dropped some little gift packs of homemade cards into people's mailboxes - my way of doing something in these weird times and I hope maybe they do something and send them on to people who could use a smile.

I recently had the urge to put together some love cards for my girlfriends since Valentine's Day is approaching. It's not nearly as popular in Germany as in the US, but people know what it is. I'll be sharing some not-your-typical-valentine cards the next couple days.

I don't actually have much in the way of Valentine's Day supplies, though I do have lots of "love" themed items. For my first design I pulled out a background stamp, heat embossed it and ink blended. Old school. SUCH fun. Added a fun die cut sentiment and voila!


The next card follows the same idea, I just added a great heat embossed sentiment from Cathy Zielske.


distress oxides, white satin pearl embossing powder


I'm playing at:
SSS Wednesday Challenge - Love is in the Air
SSS Monday Challenge - Love/Hearts


Monday, November 19, 2018

25 days of christmas tags 2018 - part 1

Tracey's 25 Tags event came into my reader as I was pondering what to make for neighbor gifts this year... Now I know. And have already made a few sets of tags. Wanna see?

Without further ado, here are my first three.

For Day 2 with Altenew I was inspired by Norine's simple tags in kraft and light blue and made this set. And used up some PP ;)


Can you see the sparkle of the glitter CS and the glitter embossed sentiment? Such fun contrast to the kraft CS.


For Day 4 with Reverse Confetti I was inspired by Tracey's little gnome set in a cute scene. I used to be so afraid of little scenes, cuz they require coloring, but I bought myself a couple of "cute" sets with dies and am slowly expanding my horizons ;) This set is for the family DD babysits for. And did I mention how great it is to use up some of my PP stash!


Reverse Confetti Gift Card Holder Tag die
circle punch
Copics

For Day 5 with Newton's Nook, I loved the ornament shaker tags by Jennifer. When I thought about making ornament tags that could also be hung on a tree, I decided they needed to have lots of shiny gold. So I pulled out a PP pack with lotsa gold (did I mention how great it is to use up stash?!?) and these happened. Quite an exercise in engineering... how to include that dangling star embellishment between all the layers but in front of the acetate ...


Create a Smile Schone Bescherung stamp
craft foam
sequins

And these additional tags happened with the leftovers from the shakers!

Charlie und Paulchen Frohe Weihnachten die

I'll be back with three more tomorrow. So happy Tracey's challenge spurred me to create my neighbor gifts for Christmas in November! Thanks Tracey!

I'm also joining in at:
Addicted to Stamps - AG with option ribbon (#2)
Stamping Sensations - Get Ready for Christmas (#2)
The Paper Girls - Wanna build a Snowman? (#2)
Crafty Hazelnut - Christmas (#2 no buttons but bells!)
Crafty Hazelnut PP Challenge - November (#1, #2, #3)
SSS Wednesday - All that glitters is Gold (#3)


Wednesday, June 13, 2018

everything's coming up CAS and rainbows

Having some fun for a couple challenges. How could I not participate when the themes are:
AAA Card Challenge - Geometrics
 Addicted to CAS - Rainbow

Here's what I made.

Altenew inks

Had this die cut square (geometric) laying around. So I pulled out some geometric stamps and rainbowed them with eight Altenew ink colors in rainbow fashion. Added a Paper Smooches sentiment in bold black. CAS pure.

And then flipping through my Paper Smooches dies looking for that "hello" above, I ran across this cutie that may well be NBUS. Not any more. 13 Copic markers later this rainbowed die cut was adhered to a 4" circle (geometric) card. Fits perfectly into a normal envie. Voila!

Copics

I'm joining these challenges too:
Pinspirational - #217 (card #1)
 CAS Colors and Sketches - #276 (card #1)

Monday, April 16, 2018

cowgirl cacti

I've another cacti creation for you today using the fun Spellbinders Build a Terrarium Etched dies. This time the iconic cactus figure became the star of my show. Desert. Cactus. Cowboy. Well, I decided to go kinda Cowgirl...

Distress inks
fun foam
white embosing powder

Lots of little die cut cacti, gently inked with some Spun Sugar and Worn Lipstick and some white gel pen dots. See those patches of desert the cacti perch on? I die cut the "dirt" die from fun foam to make my own stamp, attached it to an acrylic block with temporary adhesive and stamped away! Added some light gray "stones" from the FF Texture set as fillers.

The heat embossed sentiment with a touch of B/W PP and a couple big ol' sequins finished it off.


Thank you Team Spellbinders for the fun cacti to create with. I'm taking them over to:
Simon Says Stamp Wednesday - Texture
Die Cut Divas - Anything Goes for April
Pinspirational - Anything Goes for their 6th Anniversary!


Monday, February 26, 2018

CAS for CASe this Sketch

Quick. One post. Three cards. Thanks to a new die and a cool sketch!


Basic Grey PP
sequins

Happy Monday! I'm playing at:
CASe this Sketch - #260
AAA Cards Challenge - Die Cuts Only


Thursday, December 15, 2016

MMCC #30 - reminder

Here today with my last card of the year for MMCC, where the theme this month is "GOLD". Have you joined us yet? There's still time.


Back to CASSY basics on this one for me. CAS and messy. Got gold fingers while making this one.


Painted a chipboard piece with a couple coats of gold acrylic paint and let it dry. Heat embossed some silver dots with Hero Arts Life of the Party onto a scrap of vellum and stitched it onto my cardbase. Added some sentiments from Paper Smooches Christmas Sampler, doing some selective inking to only get "joy" out of  "be jolly".

We'd love to see your GOLD card creations in the gallery. The challenge is open until end of day on December 25th! I hope your holiday season is filled with peace, love and joy :)

ETA: I'm taking this card to the gallery at Little Tangles.

Thursday, March 10, 2016

gelli plate print easter cards

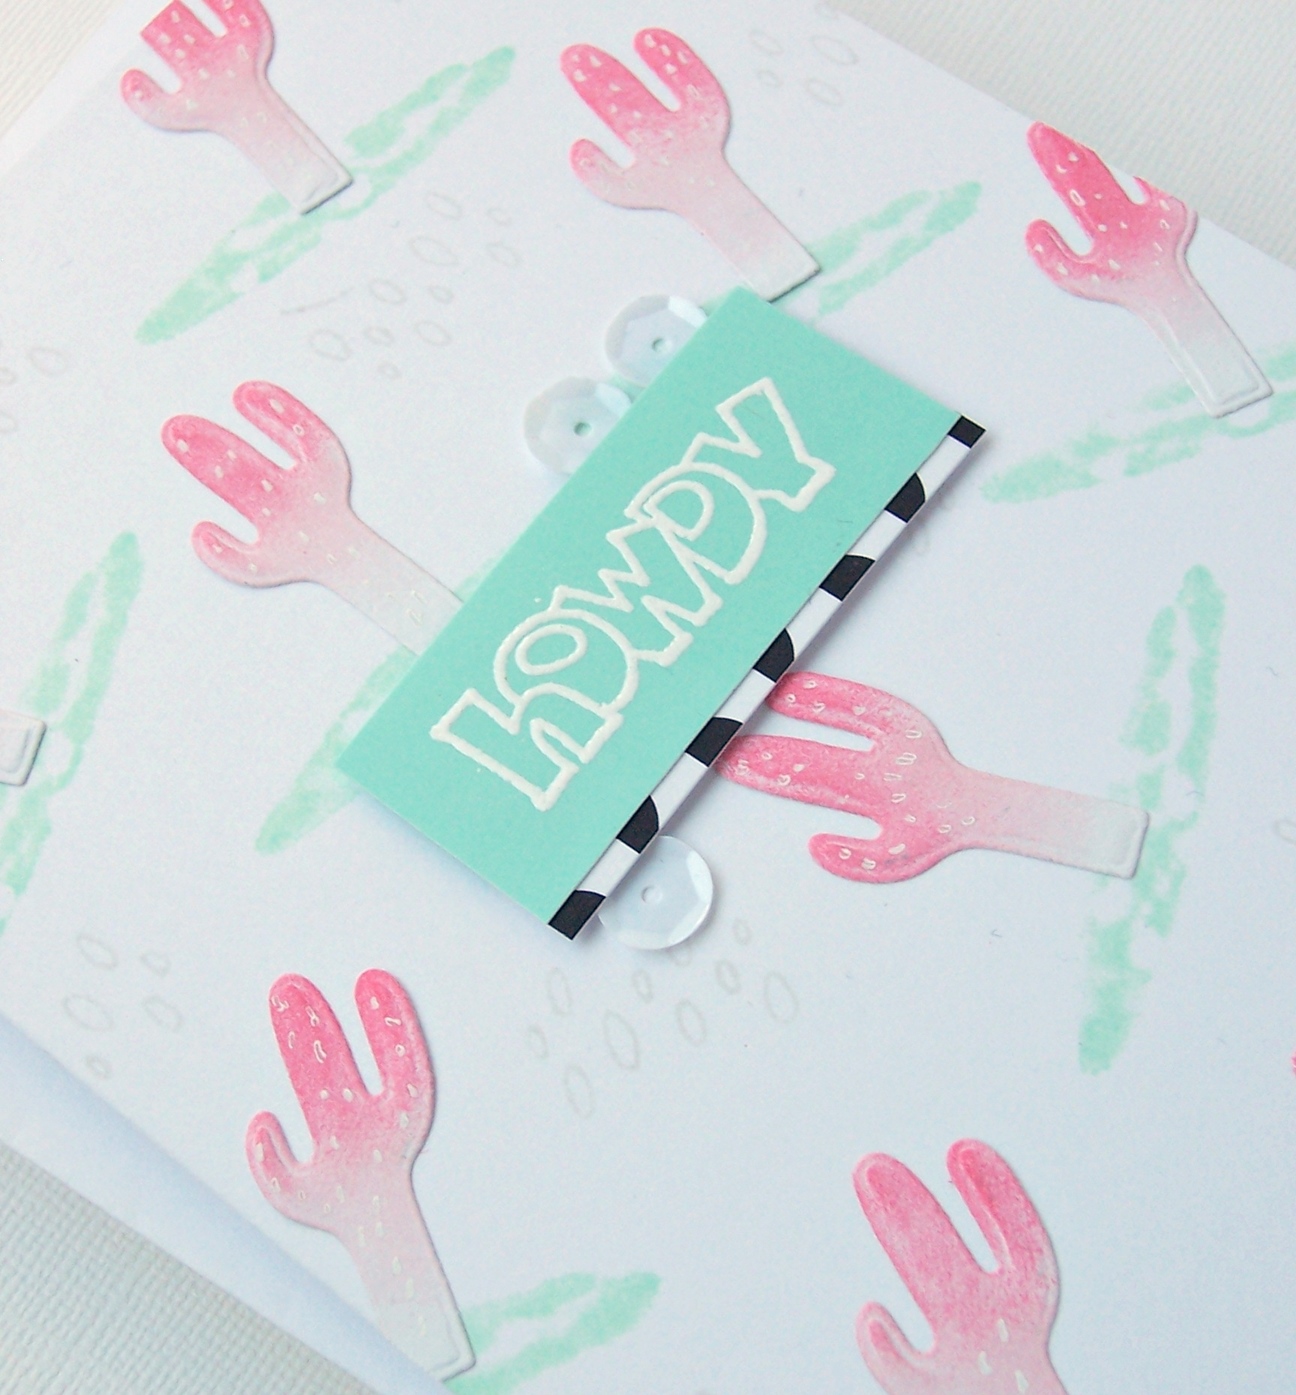
Well if only making stuff with 'em was as easy as producing 'em ...

I had a test drive of my NBUS Gelli plate yesterday and boy oh boy is it addicting. It's like the magic of heat embossing and watercoloring rolled into one! You seriously never know what you are going to get each time you pull a print. (Of course, spatial thinkers out there can probably plan their layers and colors ahead of time and know what they're gonna get. Moi? Not yet.) I decided to keep my colors pretty much to one color family to avoid "mud" and have some fun. This happened. In less than an hour ;)


Today I grabbed the three prints indicated above and made these. I had used printer paper to pull prints so just adhered that to the front of cardbases. Then the big question. What now?


The print I had fallen in love with was number 1, which I turned into the two cards in the middle row. And then they became these cards. Here's #1.


Stamped with a Tim Holtz Easter Blueprint, planning to place the MFT bow up top to cover an empty spot. Didn't like the offcenteredness so I stamped an Impression Obsession sentiment vertically to balance it out. And to cover the excessive blackness at the base of the bunny I snipped some grass out of tissue paper and stitched it along the bottom. A challenge, this one. Unlike the next one, #2.


Isn't this fun? I had pulled out extra die cuts that were laying around from recent projects, like this one, and something made me think of covering one of the eggs on this print with a die cut egg. And that led to the idea of keeping the stamping light and whimsical and voila! Thanks to Paper Smooches Spring Fling.

On to print number 3. Lovely blue/green-ness. Also a cool print made by taking CS leftover after die cutting lots of w&w leaves and using it as a stencil on the Gelli plate (like the eggs above).

Meet #3. Lotsa lovely white space.


Stamped the egg from Tim Holtz Easter Blueprint, masked it and sponged a bit of Broken China around it to set it off a bit from the busy background.

Here's #4.


This half of the print had to become an Easter card too. See those faint egg outlines. Another of the magical moments provided by the Gelli plate. (After pulling the colorful egg print and its "ghost", I laid down some blue and green paint and made this print, getting the remnants of the colorful print too. Clear as mud?)

The little bunny? He was sent to me by Bev B., so I perched him on a die cut square topped with a die cut leaf for interest. Stamped my sentiment on both and lined them up. Two more leftovers put to good use ;)

Last card  #5 was a cinch.


I like how the giant image nestles nicely into the circles on the print. From Joy Crafts Spring.


Whew. Hope I've inspired you. This all came about cuz I was inspired by Darnell's NBUS challenge which is ending today. Thanks for the push, girlfriend.


Card #1 is going to:
Time Out - #51 Easter/Spring
Stempelkueche - #39 Stitched
SSS Wednesday Challenge - A bit of Green


Card #2 is going to:
Penny Black and More - Feature a Creature
SSS Monday Challenge - Make your own Background
Addicted to Stamps and More - #184 Clean and Simple
Artistic Stamper - Springtime

Card #3 is going to:
Time Out - #51 Easter/Spring I've even used the option of masking on this card!
SSS Wednesday Challenge - A bit of Green
Double D - Feeling Green

Card #4 is going to:
Challenge up your Life - Die Cutting
Mixed Media Mojo - Springtime
Anything but Cute - Crazy for Colour
SSS Monday Challenge - Make your own Background

And card #5 is going to:
Penny Black and More - Feature a Creature
SSS Monday Challenge - Make your own Background
Artistic Stamper - Springtime

Monday, February 1, 2016

CASEplorations february

Well welcome to the month of LOVE ♥

Living in Germany I don't see lots of LOVE day stuff happening, although I must admit there is a bit more hype now than there was 20 years ago. I'm a Michigan gal and Valentine's wasn't necessary a big deal there either. But I did experience Valentine's Day in Myrtle Beach back when my folks were doing the snowbird thang, and boy is there a lot of LOVE happening down there!

Enough of that. We have a super clean and bright love card for you this month at CASEplorations. It's from the queen of clean and bright and linen cardstock! My blogland pal, the lovely Anita in France is joining us as our guest this month. Wonder if Valentine's Day is big in the land of amour!?!


I locked in on her design elements of hearts and warm colors. And her big love sentiment. And although Anita's card is pretty CAS, I went even CASer. With this stamp set.


I die cut the heart from the card front and the next largest heart from scrap paper. Used the negative as a mask on the inside and stamped the area full of hearts and blooms using tiny images from Frames and Flowers. I used all the warm color Amuse pigment inks that I own! Added a couple black hearts for interest. Learned that in this class.

A Paper Smooches die cut from vellum stitched on the outside and a PTI sentiment on the inside finished off my birthday-card-disguised-as-a-love-card project.


Please check out Anita's card and those of my teamies here. And join us in CASEing Anita this month, won't you? (Regardless of how you feel about Valentine's Day ;)

Joining the fun at:
Uniko Challenge #28
AAA Cards #57

Share Joy - #20 I've gone Clean and Simple
Just Us Girls - Tic Tac Toe (I've used die cuts, stamps and flowers)


Thursday, February 5, 2015

it still ain't over...

Back with a couple more of my CAS watercolor cards, like here and here. Today it's about hot stuff and hot colors.


Hot, right? Amy Tangerine Associate die meets Paper Smooches sentiment. And the red spectrum of the rainbow watercolored paper.

I'm playing at:
ATCAS #56

ATSAM #130

CASology #132

 And here is a hot version of yesterday's card.


QuicKutz monogram die meets Lawn Fawn sentiment and the red to yellow spectrum.

Playing here:
Bright and Beautiful

Lawnscaping #99

There's more to come. I've changed the design up a little too. Thanks for visiting.


Related Posts Plugin for WordPress, Blogger...