Showing posts with label shaker. Show all posts

Friday, October 27, 2023

pretty in pink - and green

How about a couple cards with a similar color scheme although they came about in different ways.

The patterned paper inspired me for this first one.  Needed a personalized card for DS so decided to include the initial as part of a shaker.  Sequins and gold are always a good idea, right?


I was sorting through some old stamps and ran across this oldie but goodie peony from PTI. Paired it with a more modern stencil BG and some cool word dies from A Pocket Full of Happiness. And some glitter washi!


Hope you are having a peaceful day. Thanks for looking.


Tuesday, October 11, 2022

mini accordion album - what fun!

So did you see the first ever SBCfest over at Scrapbook.com? I happened to catch some of the videos and in this one Andrea L totally inspired me to give a mini album a try. I had never created one of these! SUCH fun. 

So many ideas. So many supplies. So many hours ;) I'm just going to share some photos of the completed project. It's on its way to Australia as we speak.


Action Deutschland PP
Essentials by Ellen rectangle dies
Renke numbers die
Waffle Flower greenery die
PTI tag dies
Lawn Fawn Milo alpha stamp
 inks, vellum, stickers, washi, sequins, pearls

Unfortunately I'm way too late for her birthday so I decided a little book to record this moment in time could be fun too rather than a card. I used the letters of her name in page titles (9 plus cover) with interactive pieces for lists of favorites - movies, fashion, eats, etc. Also included a few pages where she can add special photos - her at 30, her cake, etc. Used all the fun techniques too - shaker, flaps, belly band, pockets.

Hope she has as much fun completing it as I had making it! Have you ever made one of these? If not, I strongly recommend it. How about in a smaller size to hold a gift card? I know there are more of these in my future ;)

I'm playing at:
Happy Little Stampers - AG with Dies October
Cut it Up - #262 Big


Friday, September 23, 2022

forgotten but not gone (4)

I've been sharing cards this month that seem to have been forgotten in my photo file. Oops.

Today I'm sharing two Autumn-y creations in case you're in the mood...

First a wine-themed birthday card. It's harvest time ya know? Gave the wine a Merlot-y inked tone and added a mist of perfect pearls for fun. See the sparkle in the closeup?


Klartext sentiment stamp

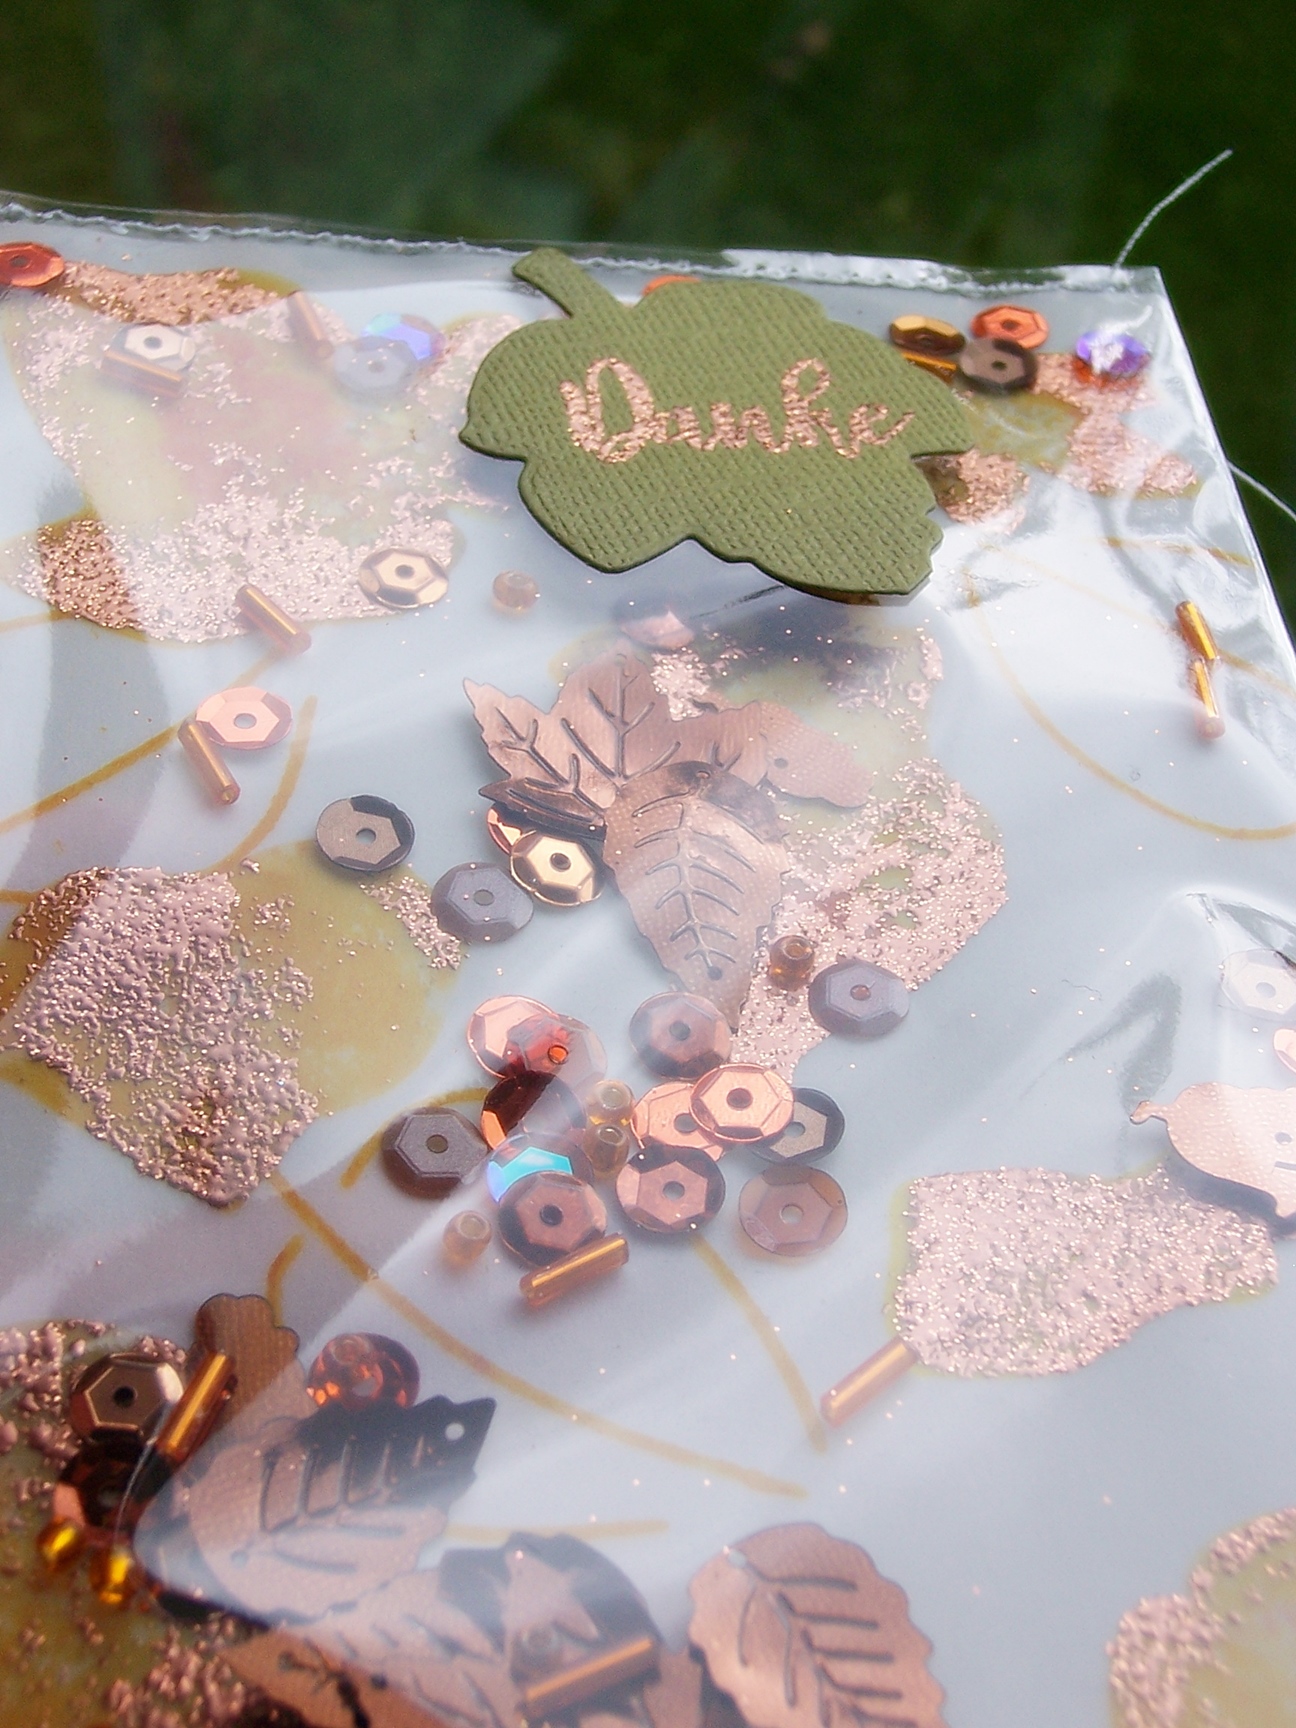
And then lovely falling leaves (a bit early I know). I love to make these pocket shakers (idea from Kristina W.) using recycled cellophane packaging. First stamp (and heat emboss) your images on vellum.


Add your fillers and stitch up the pocket. See how I added a sentiment?


You've got yourself an attractive, interactive card.

STAMPlorations stamps
vellum, embossing powder, sequins, sewing machine

Enjoy your weekend!


Thursday, March 3, 2022

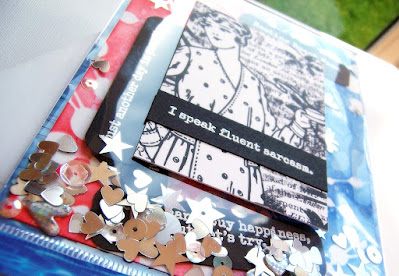
STAMPlorations new release - some snark


Welcome peeps! There's a new release in town. Over at the STAMPlorations shop. And with a new line of snarky stamps from our own Chris Dring. Today we're introducing Some Snark (the set on the right).

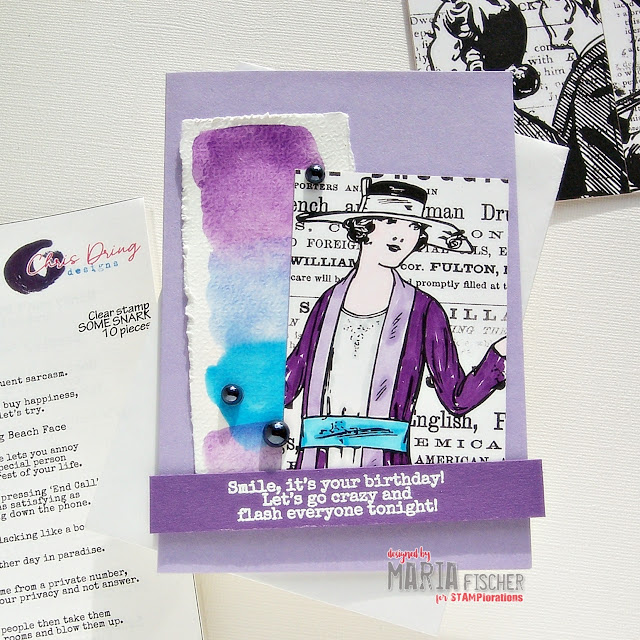
I've paired Chris' snarky sentiments with some of STAMPlorations paper goods (ATC). The vibe couldn't be more perfect.

watercolors, Copic markers, white embossing powder, pearls

Actually have a friend who loves to "moon" people, so this card's headed her way :)

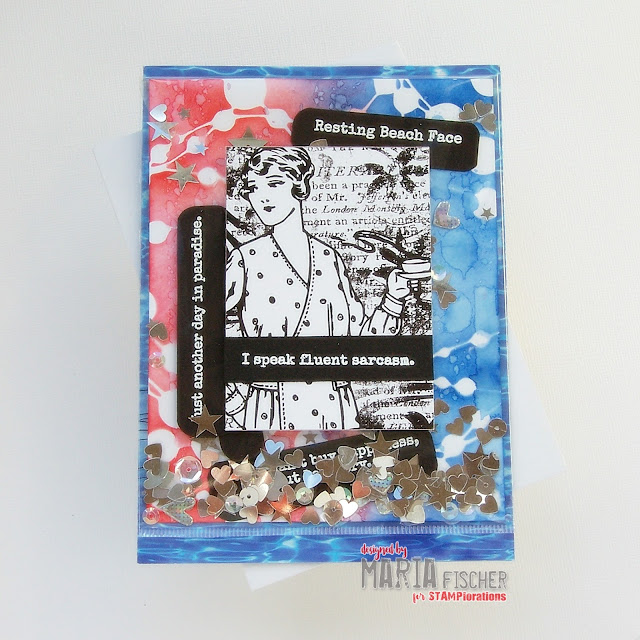
For my next card I recycled plastic packaging to make a fun shaker. Put an inked BG in it along with several heat embossed snarky sentiments cuz they're just all so good (and lots of sequins). I attached the shaker to a cardbase and adhered a B/W ATC to the front with my main sentiment.


Distress Inks, recycled packaging, sequins, white embossing powder


That's it for today. Be sure to check out all the DT's creations over at the STAMP blog. Leave comments all around and you might be the lucky winner of one of Chris' new stamp sets.

Thanks for stopping by.  

Wednesday, March 2, 2022

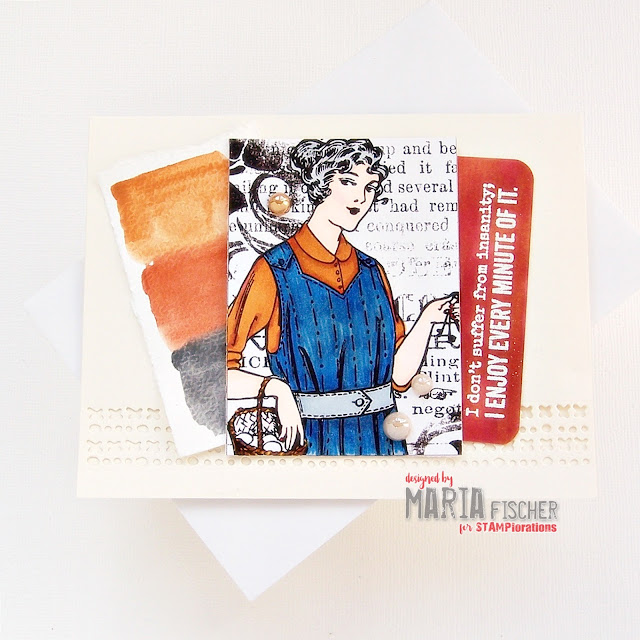
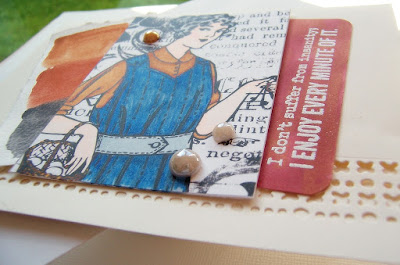
STAMPlorations new release - hot mess


Welcome peeps! There's a new release in town. Over at the STAMPlorations shop. And with a new line of snarky stamps from our own Chris Dring. Today we're introducing Hot Mess (the set on the left).

I've paired Chris' snarky sentiments with some of STAMPlorations paper goods (ATC). The vibe couldn't be more perfect.


watercolors, Copic markers, white embossing powder,pearls

Do you not love that sentiment? They're all great. A watercolored swatch, a Copic colored lady to match, a few pearls and a snarky sentiment. Oh, and a bit of die cut interest on the cream cardbase.

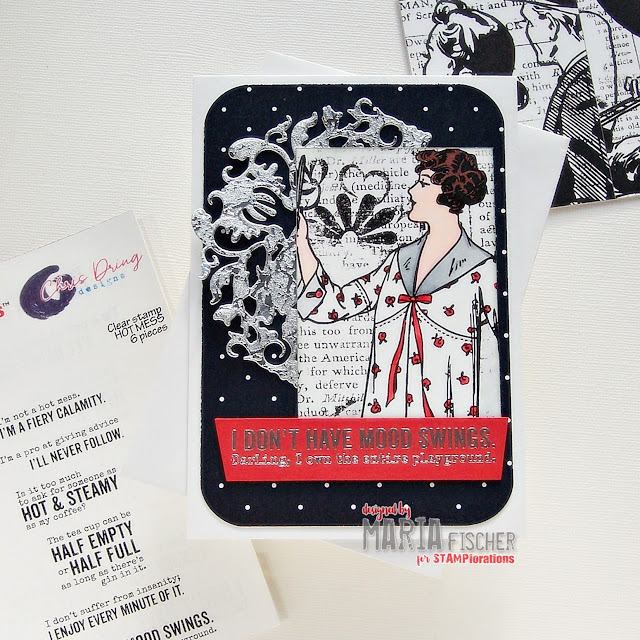
How about this next one. "I don't have mood swings. Darling, I own the playground." Just look at her admiring herself in the mirror.


Layout's a bit different - PP mat and a fancy die cut to back the ATC - but the lady and the sentiment say it all.

So, that's it for today. Be sure to check out all the DT's creations over at the STAMP blog. And leave comments all around and you might win one of Chris' new stamp sets.

Hope you're having a nice day. 

Thursday, November 25, 2021

spotlight on easy Christmas shaker cards

Howdy peeps! Happy Thanksgiving if you're stopping by when this goes live. If it's after the fact, hope your day was great and your fridge is full of leftovers. Cuz then you can craft instead of cook!!!

I have a spotlight tutorial over at STAMPlorations for some quick and easy shaker Christmas cards. I put ephemera to work for me - ATCs to be exact. Check it out - just click on the Spotlight Projects category in the sidebar.

I had such fun I made four!


Tuesday, February 23, 2021

STAMPlorations inspiration #308

Welcome to another Tuesday inspiration post from the STAMPlorations inspiration team girls

I'm concentrating on shaker cards this month. Are you already a fan? If not, perhaps I can inspire you to try one of the versions I've done this month: a see-through-to-the inside shaker using recycled cellophane packaging or a tulle shaker or a waterfall-ish card with a shaker element (perfect for a crafty friend).

Today I have my last shaker card for you. It's a full card shaker, recycling cellophane packaging which we all have tons of, right?
white embossing powder, Gelli print, sequins, sewing machine

I like this kind of card. It's different. It doesn't have a fold (I adhere a piece of white CS on the reverse so I can write my message), but there's a definite fun factor to it.

I took a Gelli print from my stash and adhered it to a piece of CS. I traced some leaves onto it with a stencil, added sequins and a die cut birdie, then put it all in cellophane packaging and stitched up the sides and top. Stapled a heat embossed sentiment to it and voila! I've done a belly band as a way to attach the sentiment before too.

You could win yourself a $15 prize code to the store by leaving a comment on this month's inspiration posts! Check out today's post over at STAMPlorations. And if I ever inspire you to order something from the store, I'd appreciate it if you used my STAMPGIRLMARIA discount code for an additional 20% off your order - at no extra cost to you, just with perks for me ;)

Thanks for visiting. I'm visiting Seize the Birthday with this birthday shaker card.

Tuesday, February 16, 2021

STAMPlorations inspiration #307

Welcome to a new month of Tuesday inspiration posts from the STAMPlorations inspiration team girls

I'm concentrating on shaker cards this month. Are you already a fan? If not, perhaps I can inspire you to try one of these versions I've done: a see-through-to-the-inside shaker using recycled cellophane packaging or a tulle shaker.

Today I have a waterfall-ish shaker card for you.
Amuse Studio inks, PP, sequins, recycled packaging, washi

Stamped randomly on my card front. Trimmed down cellophane packaging, stitched side, filled it with sequins and stitched it closed at top (and to largest PP rectangle at the same time). Adhered to card.  Adhered smallest PP rectangle over sequin pouch with washi. Adhered die cut sentiments so the card reads "birthday wishes hugs and kisses". At least I like to think that's how it reads! There's a stamped birthday greeting on the inside of the card.

How perfect would this be for a crafty friend - a little pouch of sequin fun ready to use!

You could win yourself a $15 prize code to the store by leaving a comment on this month's inspiration posts! Check out today's post over at STAMPlorations. And if I ever inspire you to order something from the store, like sequins for a waterfall shaker, I'd appreciate it if you used my STAMPGIRLMARIA discount code for an additional 20% off your order - at no extra cost to you, just with perks for me ;)

Happy Fat Tuesday! Have a good week. I‘m joining the Large Sentiment fun over at AAA Birthday challenge and Geburtstag at bastel-Traum. 

Tuesday, February 9, 2021

STAMPlorations inspiration #306

Welcome to another Tuesday inspiration post from the STAMPlorations inspiration team girls

I'm concentrating on shaker cards this month. Are you already a fan? If not, perhaps I can inspire you to try one of the versions I've done this month like a see-through-to-the inside shaker using recycled cellophane packaging.

Today I have a tulle shaker card for you.
Zig clean color brush pens, tulle, sequins, sewing machine

I stamped the floral spray twice and colored it with Zigs and a waterbrush. Fussy cut them. Stitched a piece of tulle (with flat sequins trapped behind it) to my cardbase. I adhered the sprays with foam tape; the sentiments with glue where they overlapped the sprays.

You could win yourself a $15 prize code to the store by leaving a comment on this month's inspiration posts! Check out today's post over at STAMPlorations. And if I ever inspire you to order something from the store, I'd appreciate it if you used my STAMPGIRLMARIA discount code for an additional 20% off your order - at no extra cost to you, just with perks for me ;)

Have a lovely week.

I'm playing at:
Stamping Sensations - Color My World
We Love Chocolate Baroque - Flowers, Butterflies or Birds
AAA Birthday - Large Sentiment


Tuesday, February 2, 2021

STAMPlorations inspiration #305

Welcome to a new month of Tuesday inspiration posts from the STAMPlorations inspiration team girls

I'm concentrating on shaker cards this month. Are you already a fan? If not, perhaps I can inspire you to try one of these versions.

My first is inspired by Jennifer M. You can watch her video here. I went with a coffee theme. I chose the rectangular coffee cup silhouette die since it made for a nice large window from the front to the inside of the card where the die cut is actually adhered.


 Dots and Beans stencil
Hero Arts inks, sequins, recycled packaging

See that second photo. I'll describe the layers of the shaker bottom up as they are in the photo.
Stenciled card front, cellophane, fun foam 2x, sequins, cellophane, creme cardstock. All trimmed smaller than the card, TIP: especially near the top/hinge of the card so that when closing the card there's not too much bulk and it closes flat.

In the photo you also see the second sticker sentiment, which is hidden behind the first on the card front, so it reads "rise and grind caffeine queen".

You could win yourself a $15 prize code to the store by leaving a comment on this month's inspiration posts! Check out today's post over at STAMPlorations. And if I ever inspire you to order something from the store, I'd really appreciate it if you used my STAMPGIRLMARIA discount code for an additional 20% off your order - at no extra cost to you, just with perks for me ;)

Appreciate your stopping by. Have a good week.

I'm stopping by:
Seize the Birthday - Transparency or Vellum
SSS Wednesday - AG
Cut it Up - Point of View (considering the window to focus your view to the die cut inside)


Thursday, March 5, 2020

simon says stamp - faberge egg

No photo description available.

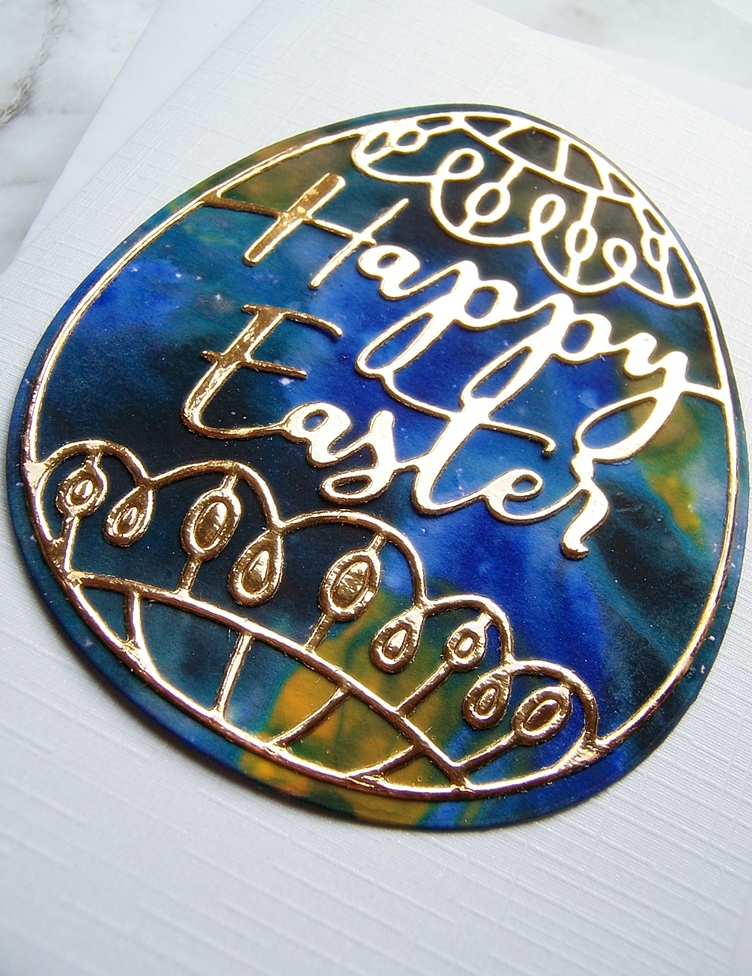
Did someone say Faberge Egg? As in, gold and jewels and decadence. Well son of a gun, one of the products in the new Lucky to Know You release at Simon Says Stamp is actually a Faberge Egg die. And lucky me, it came to live at my house. Thanks, Simon.

I could not not go the gold and jewel route. But talk about easy. I'm sure you too have a gazillion backgrounds in your stash that you have created with paints or inks or alcohol inks. Maybe you even have PP that is marbled or galaxy-ish. If so, this is under-five-minute card. Ready?


I die cut the intricate egg from gold CS, the solid egg from a background I recently created trying out spin art with my new salad spinner! (Watch for a tutorial on the 12th ;) Glued them together and adhered them to a shimmery, linen cardbase and voila!

For my second card, I die cut the solid egg from craft foam and used it as a stamp. Randomly stamped the cardbase with Squeezed Lemonade, Worn Lipstick and Abandoned Coral Distress Oxides and then added a vellum solid egg with a stacked white intricate egg and voila!

SSS Faberge Egg die
Distress Oxides
craft foam, vellum 

I have one more card for you, this was more of a wing-it-as-you-go-along card. I wanted to make a tulle shaker. Hmm. This die seemed perfect for it. Hmm. For some reason I decided to make a little (4" x 4 3/4") double fold card, so I winged it and this happened.

tulle, PP, sequins

I trimmed a 4 3/4"piece of textured white CS from a 12x12 sheet. Scored it at 4" and 8". I created the tulle shaker, adhered it with score tape and backed the front with yellow CS. Backed the orange (leaving in some pieces of the die cut to make it more readable through the tulle) intricate egg with yellow polka dot PP and if you open that flap you have the entire middle panel to write your message.


Check out all the makes with the products from the release in the gallery here. And be sure to check out the blog hops this weekend to see all the new products in action.

Wednesday, February 19, 2020

STAMPlorations digital stamps four more ways

I'm over on the STAMPlorations blog today with four digital stamp projects. You could win a $15 GC to the store for comments left here and there. Just sayin...

So. I'm no pro with digital stamps. I love getting inky with actual stamps. And I'm a pro at ink smudges. But there are some benefits to digi stamps - no smudges, perfect coverage without a MISTI, image resizing, even layering images (though I've yet to give that a try). And no shipping!

I use Microsoft Word and my Canon ink jet printer. I recommend this post for a great intro to digi stamps. It's where I figured out how to print them using Word.

I've got four projects to share today. One image enlarged. One shrunk. One left as is. And one heat embossed. Let's get started.

First up, I wanted a really large image. I inserted the PNG file for the image (it's the rectangular frame with roses along its left edge) into a Word document. Then I clicked on the image and stretched it to enlarge it. It's got nice thick lines so this worked great. I trimmed the printed image down to the card front size I wanted and made a shaker card.

Blossom Frames digi stamp
Copic markers
sequins

Something about those thick black lines... I decided to go all dramatic on this one. Chose red tones and Copic colored only a piece I die cut from the printed panel and set it back behind the shaker. Added a heat embossed German sentiment since this will be a birthday card for DS's girlfriend.


For my second card I shrunk a digi stamp so it could be just an accent piece on my card.

Blossom Frames digi stamp
Altenew ink
PP, washi, sequins

You can imagine my joy when I stumbled upon this PP in my stash. A perfect complement to the digi image. Thinking anniversary or wedding, I chose silver glitter for the die cut sentiment and the strip of washi. Sequins added more sparkle.

To eliminate some of the empty white space I masked and stamped some yellow blooms with the Sweetly stamp. On the cardbase and within the digi frame. BTW, I flipped the die and made a second cut to turn the manila tag into a rectangle!

So after enlarging and shrinking images on the previous cards, my next card uses an image just as it is (A2 size), I merely trimmed away the black lines of the frame.

Fluttery Garden digi stamp
Copic markers

No need to color the entire image. I had fun coloring just the butterflies. Have you ever been to a garden where those gorgeous blue butterflies flutter about? They were my inspiration.

I added interest by cutting out parts of their wings with an exacto knife and backing the "holes" with yellow cardstock. Added white gel pen dots to the wings and some color to the background with dots of various yellow Copic markers.


My final card was the result of an aha moment I had when I was printing digi stamps on PP (for my March post!), and using cellophane tape to hold my PP in place on copy paper. I noticed the toner ink remained wet where it printed on the tape...Maybe that would also be the case on vellum, I thought. And it was! Which means if you're quick you can heat emboss a digi stamp printed onto vellum! 

Cupful of Blooms digi stamp
PP, embossing powder, vellum

It may not be as perfect as with normal heat embossing, but I think it's pretty amazing! And quick. I chose to back it with floral PP and adhere the vellum with just a line of messy stitching up top.


That's it for today. Don't forget to leave a comment here.  And here too, for another chance to win.

I'm playing over at:
SSS Wednesday Challenge - Add a sentiment (card #3)
Die Cut Divas - Hearts or Flowers (card #1)
Creative with Stamps - Red (card #1)