Tuesday, May 5, 2015

gobsmacked

OK, not sure if I'm using that word correctly, but it's what came to mind when I used that tiny little row of hearts die from Winnie and Walter's Essentials: Audrey for the first time. It's so darn adorable!


Let me back up. I'm playing. No due dates, just playing! And I saw the barrage of challenges at Winnie and Walter and Pretty Pink Posh in honor of interNational Scrapbook Day as well as the sketch at CAS(E) this Sketch #121.


And this is what I created.


The word die is Winnie and Walter Big, Bold and You. The scalloped edge panel, tag and tiny row of hearts are from Essentials: Audrey. For my gold I heat embossed Multifaceted on the tag, added a strip of washi up top and attached the word with gold metallic thread. The aqua I smooshed onto the panel. I don't think you can miss the neon pink!

Thanks for visiting today. I hope you enjoyed the last couple card-heavy weeks. Another bloggiversary has come and gone. I think I feel a giveaway coming on ...

Friday, May 1, 2015

Mixed Media Card Challenge #11

If you're looking for my Winnie & Walter April/May release post, click here.
If you're looking for my CASEplorations post, click here.


And another one bites the dust. Month, that is. Yes, April whooshed by and it's already time to wish you all a  "Happy May Day". Spring has sprung, the leaves have popped on the grape vines here in our valley and summer is on its way (seems that some years May is the only summer we have here in Germany ...)

We have a new challenge at The Mixed Media Card Challenge. Show us your mixed media cards with "Wings" and an optional element of "Foil" - which seems to be all the rage these days.

Must admit I had only seen the theme and not the graphic when I started thinking about my card. I was planning to create a Confirmation card and was therefore thinking angels. I ended up sticking with the angel idea, but created a baby card instead.


 Where's the blue or yellow or pink, you ask?  Had to go vintage here with those shoes!


I first stencilled some stars onto my cardbase with Tea Dye through a Crafter's Workshop stencil. Then I inked the cardbase with Antique Linen and Tea Dye and an applicator tool. Spritzed it with some Burnt Orange Glimmer Mist and added some embossing paste through a Tim Holtz stencil. When that was dry I stamped some teensy dots and rings from STAMPlorations Mixed Media Grunge randomly, also with Tea Dye. Whew.


Then to the easy part! Tore a piece of vellum. Curved and heat embossed a sentiment from PTI Tweet Talk. Heat embossed some wings from an ancient Crafty Secrets Cherub set and colored them with a Copic marker on the reverse. Heat embossed, fussy cut and lightly watercolored the baby shoes which are also ancient and from A La Carte, before adhering them to the vellum with glue dots.

Stitched the vellum to my cardbase and now I need a new baby boy in the neighborhood!

Stamps, ink, techniques, texture, dimension? Yep.

I'm joining in at PTI Make it Monday #210 where it's about using vellum to soften backgrounds. You may have noticed, it's one of my favorite materials to work with ;)

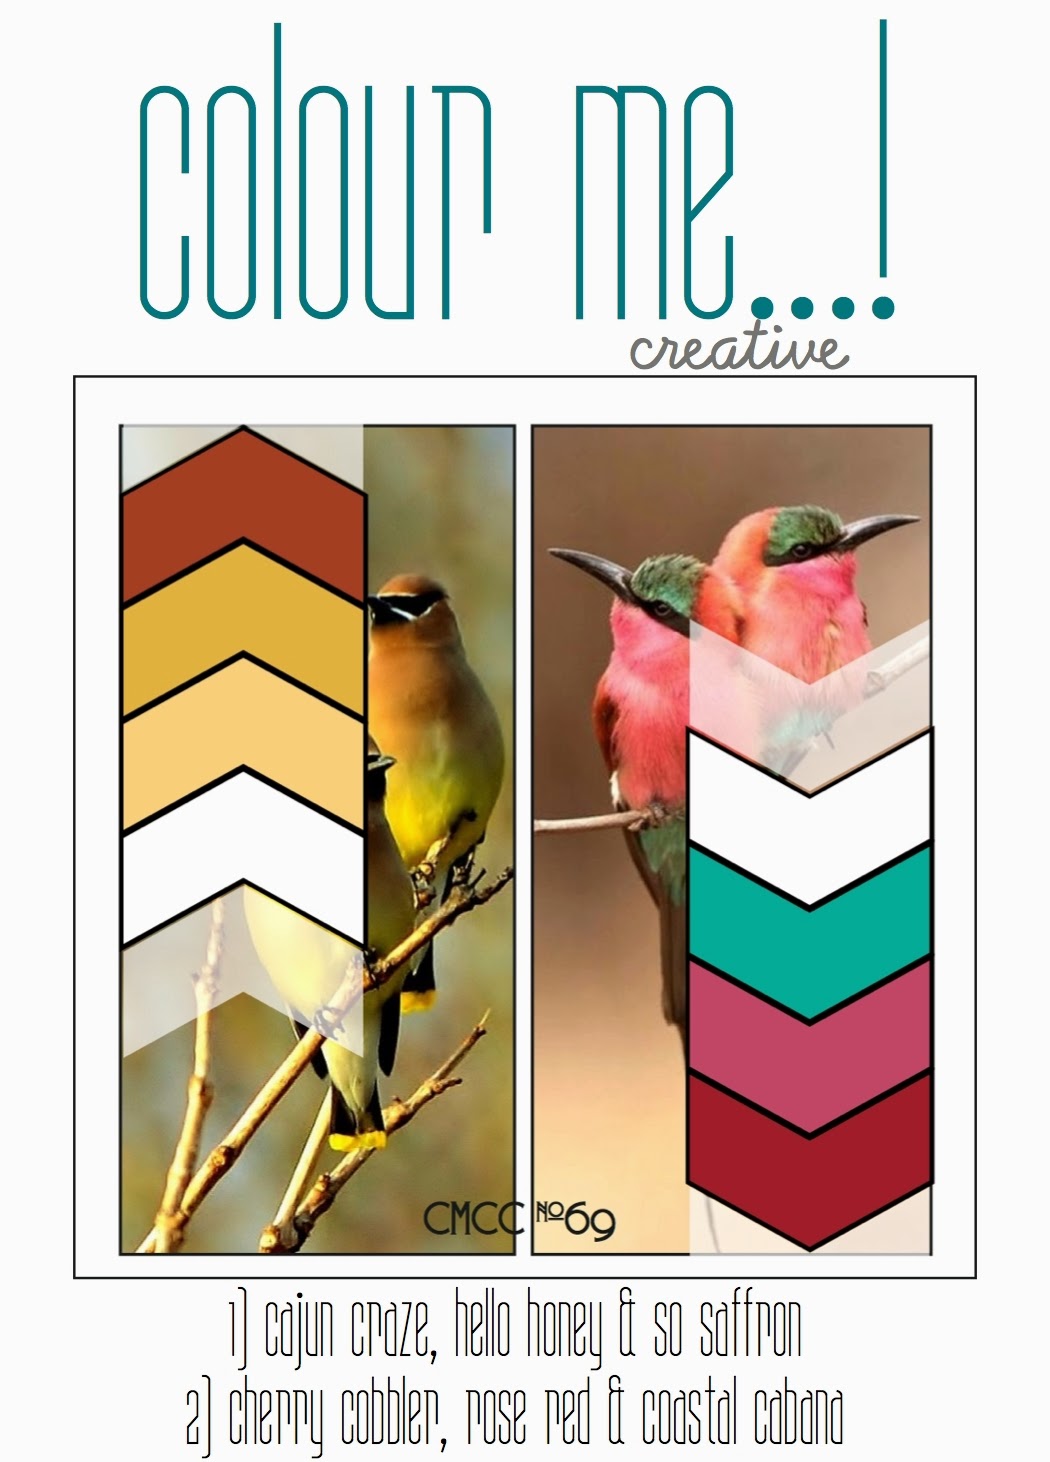
And I'm playing at Colour Me #69 where they have this lovely natural palette up for offer.


Thanks for looking today. Hope you'll join us at MMCC this month.


CASEplorations May

If you're looking for my mixed media projects today, they're here.
If you're looking for my Winnie & Walter April/May release projects, they're here.


Happy May Day! As you read this I am out doing our Three Tower Hike through our beautiful wine valley that is in full bloom right now. But it's CASEplorations time over at STAMPlorations today and that's why you're here. We've got a quiet beauty up for the CASEing this month , check out the DT's CASES here.

We're CASEing Kim Makortoff of Art Keeps Me Sane. You probably know her, maybe even from the STAMPlorations blog. Kim joins us frequently with her beautiful creations. Check out this beauty we've chosen to CASE. Isn't that white on kraft splendid?

Source: Kim Makortoff
On to my CASE. I've used kraft and white, the Mother's Day theme and some blooms... plus a little bit more for my card.


First I stamped three roses from Blossom Overture tone-in-tone along the edge of my kraft panel. I went a bit crazy with the Mother's Day card idea and created my own subway art sentiment (and heat embossed it in white) from Blossom Overture, Sentiment Builders: Thank You, City Girl, Sentiment Builders: Happy and Subway Art : Mom's the Word.


Added some stitching, Me and my Big Ideas PP and an enamel heart and voila! This is off to poor Mom who is having issues with her WiFi. And the problem is, neither she nor Dad (Dad conveniently keeps himself out of all technology-related issues) really have a clue about any of it. Gotta give 'em credit for "doing" iPads and Internet at all, I suppose.

I'm joining the Anything Goes mayhem at Simon Says Stamp Wednesday challenge. Gotta give those gals credit. They are busy, busy, busy.

Remember, if you feel like CASEing this card, or any of the DT Inspiration Projects coming up during the month of May, you can hook up your creations here. We'd love to see what you come up with.


guest star at Winnie & Walter - premiere Facets


What a whirlwind week it's been! I hope you've been following all the premieres of the Winnie & Walter April/May release.  If not, be sure to check out the gorgeous projects created by The Talent, as well as the Big Giveaway and the previous days' premieres here. It's been my pleasure designing with this release and I hope you've been inspired to start creating with these trendy and versatile sets too.

Today is fun! Graphic, cool fun! Winnie & Walter are premiering - Mini Scenery; Multifaceted + My Precious + Sparkle + True.  Please take a moment to go see the sets here.

I didn't know where to start. All that facetted goodness. And handwritten sentiments!

Before we get to the stamps, let me show you what I did with the cutaway Mutlifaceted.


Got in over my head on this one. Started out thinking shaker with gold sequins. Ended up with an acetate card with too many glue squishes. But anyhoo... die cut it from black, removed most of the triangles and adhered acetate with matte medium. Then had to adhere a second sheet of acetate cuz I had cut the other exactly the size of the die cut and how to attach a card back????  I needed a flap to fold over at the top and attach to a piece of black CS. And thus, the glue, squished between the two acetate layers :(  I'm curious... What would you use to attach a die cut like this to acetate?

But did you catch my faux foiling?!? I topped my stacked The Big, the Bold and Friends die cut with PP (from a Teresa Collins Studio Gold 12x12 pad) which is large stripes of gold and white. I placed the die so that it appears that just the bottom of the word was foiled!

"Fabulous" from The Big, the Bold and Friends was stamped onto and fussy cut from another sheet of PP from the pad.


On to the stamp sets. I had seen a color combo in a magazine and decided to use it with this design. I inked the star from True with dye inks and stamped along a pencilled guideline.


I used words from True and My Precious to create my sentiment, stamping "hero" onto a gold die cut star to emphasize the theme. Wouldn't this be great for Operation Write Home?


Then it was time for some Sparkle too. This set actually came out with the last release as a freebie, but is available for regular purchase now. It works great with the party-themed stamps of the last release as well as the facetted stamps of this release.


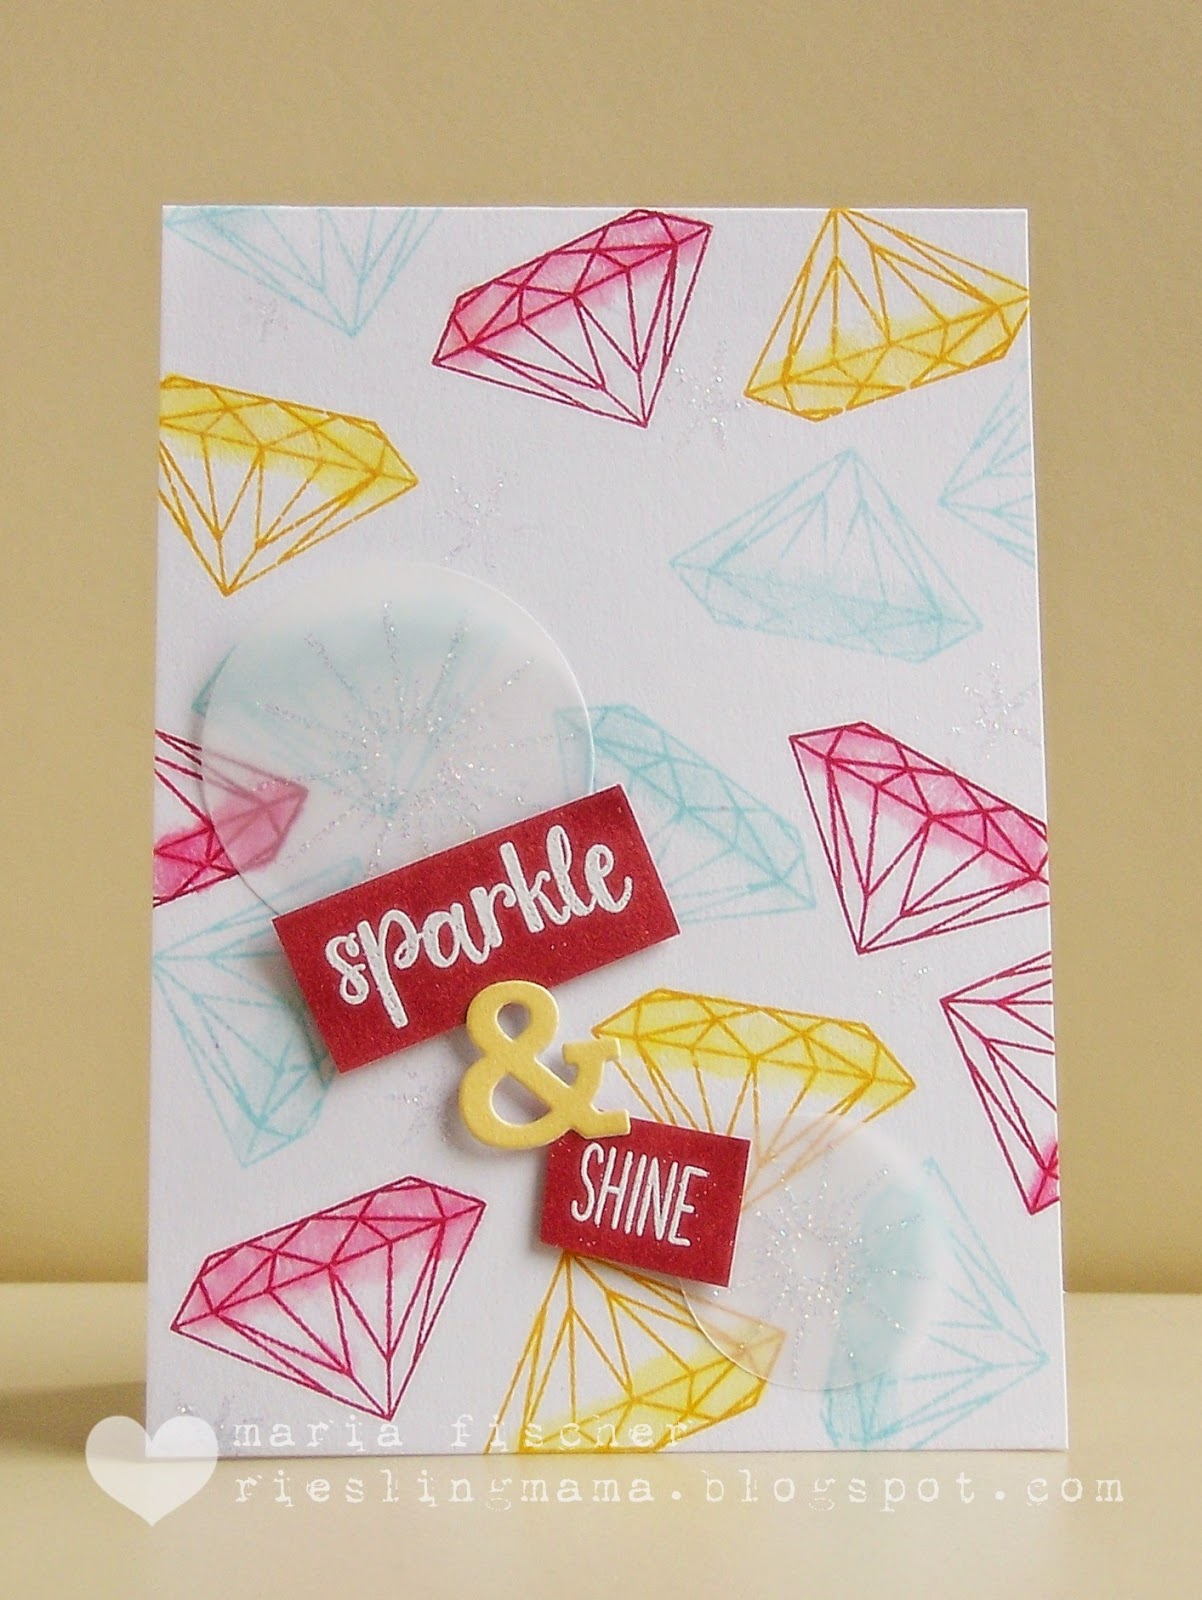
I combined Sparkle with My Precious to create sparkle and shine with glittered embossing powder on vellum.


I chose this color combo in a nod to Taheerah's color crushes on the 2015 Pantone palette. I used Adirondack inks in Cranberry, Butterscotch and Pool. Softened them around the edges with my water brush. And gave the gems a shot of Wink of Stella too.


My last creation goes out to the lovely Julie and Shay at W&W. 


This card was born in the aftermath of the gems. I used the same colors to watercolor the heat embossed hearts. If you're a follower, you know I'm oh-so-frugal-practical. So instead of cleaning up the ink leftover from watercoloring the images, I grabbed a scrap of watercolor paper and brushed them onto it. Meet my background ;)

Then I just arranged the hearts near their color blocks and added some words from True stamped onto vellum. I heart you, ladies!


Well, it's a wrap! I hope you have enjoyed this week as much as I have. I had a blast creating with the April/May Winnie & Walter release and I hope you will too! The products go on sale tonight at 10 p.m. Don't miss out. All that's left is for me to send out a great big thanks to Julie and Shay for having me as guest star this week. Thanks gals!

Thursday, April 30, 2015

Paper Crafter's Library - designer spotlight

If you are looking for my post for day3 of Winnie & Walter's April/May release, please click here.


Guten Tag! I'm delighted to be in the spotlight over at Paper Crafter's Library today! If you haven't been there, you must check it out. There are tutorials, company and designer spotlights, and my favorite feature - the trend watch!

Here's a peek at the projects I created.


Wanna learn more about "ghost stamping"? I'd love it if you headed over to check out my post and have a look at all the other great inspiration to be found. Here's the link to the Paper Crafter's Library blog. Or you can follow their Pinterest boards.

Thanks for coming by.  Happy May Day Eve!

guest star at Winnie & Walter - premiere Addie's Garden


Have you arrived here from day three of premiere happenings for Winnie & Walter's April/May release?  If not, be sure to check out the stamp set and the beautiful projects The Talent and my co-guest star, Maya have created with it. Ready for some artsy floral stamps? They're all the rage these days.

Today Winnie & Walter are premiering - In Bloom: Addie's Garden.  Please take a moment to go see the full set here.

My first card combines my love for randomly-stamped backgrounds with sentiments heat embossed on black CS. The sentiment is from The Big, the Bold and Comfort.


I added some color to the blooms with watercolor pencils and my water brush. A few fussy cut vellum leaves add some dimension.

On the next card I finally tried the stamping-in-Antique-Linen-and-then-watercoloring technique. I've been so chicken, but when this cool leaf outline image jumped out at me from the set, I thought about creating a pattern with it. That idea became this sympathy card.


My pattern turned into a pond. And my "Pfingstrose" turned into a "Seerose"! Well, "a rose is a rose is a rose", right?  Once again, I created a sentiment using the wonderful set, The Big, the Bold and Comfort.

I stamped the leaf multiple times, flipping it around as I went. And then I grabbed some blue and purple watercolor paints. The real ones. In a tube. I'm happy with the result considering it was my first attempt. I enjoyed it so much that I heat embossed a few blooms and watercolored them too!


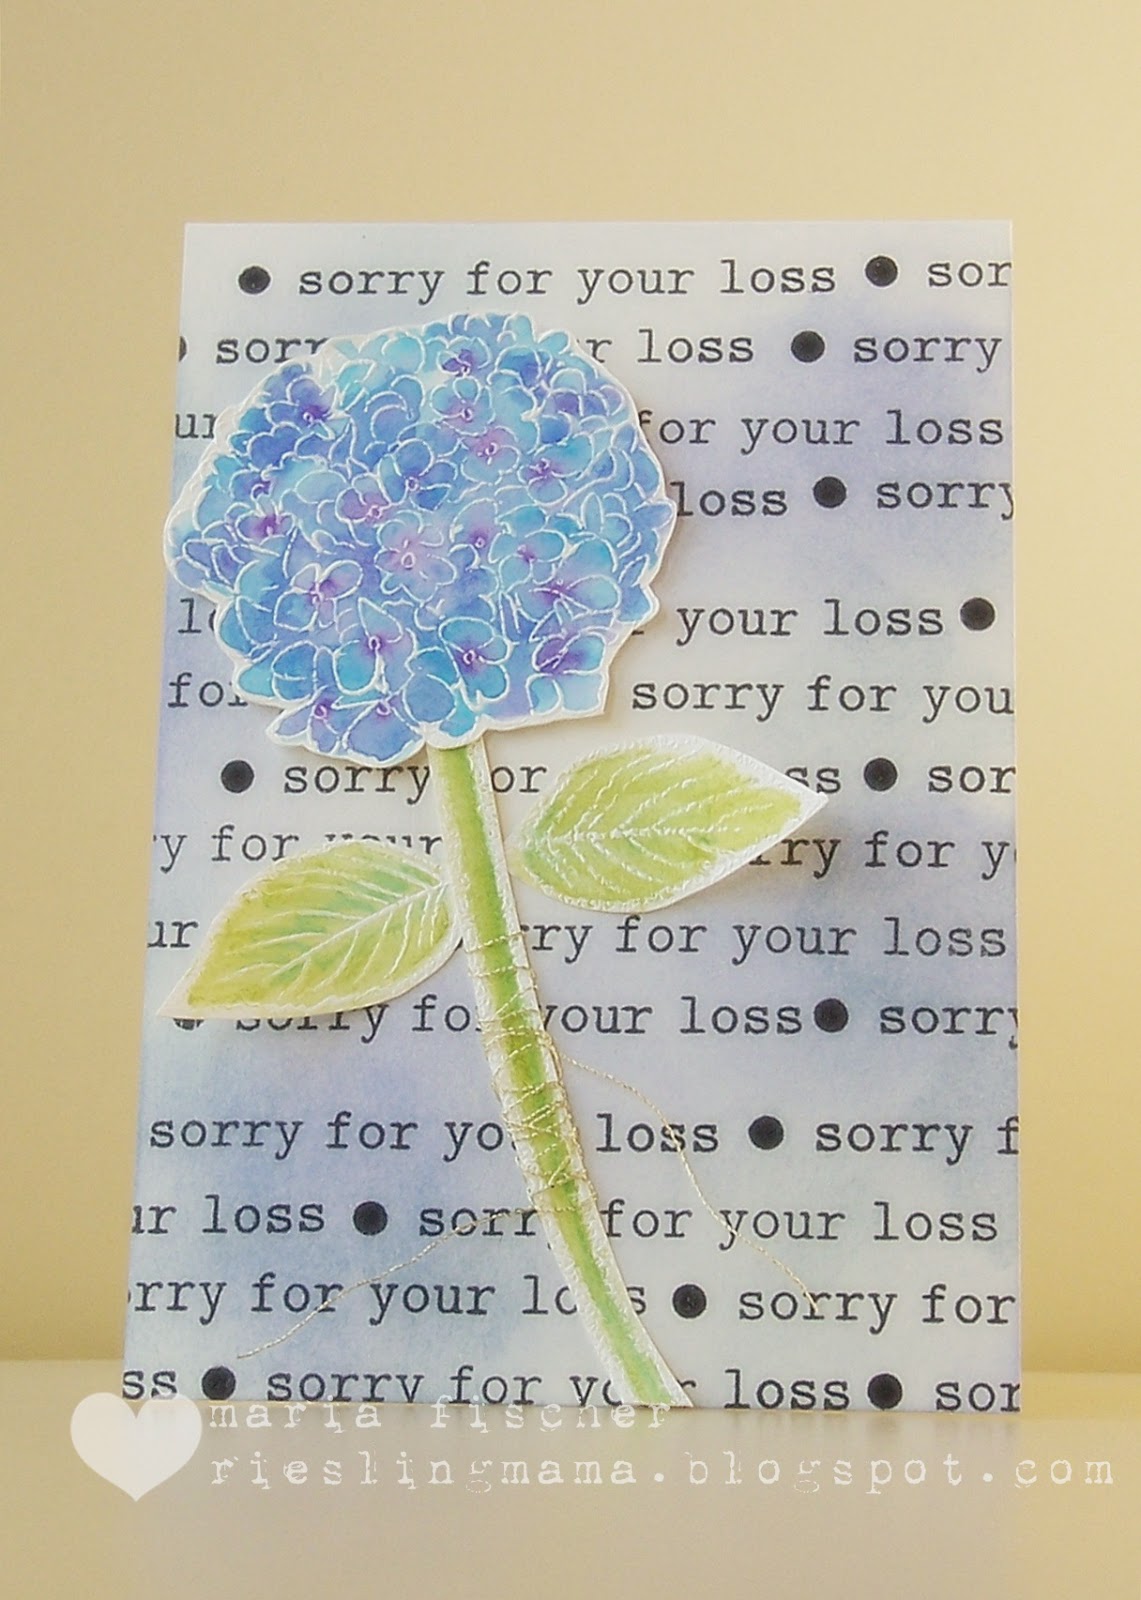
Including the hydrangea. I am a total sucker for the blue/purple ones. I buy one every year. And kill it over the winter. And have to buy a new one. Get the picture? This watercolored hydrangea adorns another sympathy card.


My stem is hand-drawn with a Versamarker.  I stamped the leaf with Versamark onto acetate and then stamped onto CS to get the mirror image.

I chose the words "sorry for your loss" from The Big, the Bold and Comfort adhered them to a lined acrylic block and stamped multiple times on my cardbase, using the lines on the block and my cutting mat to keep things straight. Kinda. I blended some Stormy Sky and Shaded Lilac Distress Inks onto the base to soften it. For a bit more interest I wrapped some gold thread around the stem.


One more cutaways card to sneak into this post. Using the fabulous leaves from Maggie's Roses.


And I stacked "prayers" from The Big, The Bold and Comfort cutaways with two black and one metallic light pink layer.


I'm entering these cards to the Simon Says Stamp Monday Challenge where it's Anything Goes this week.

Tomorrow I'll be sharing the last sets from Winnie & Walter's April/May release. They also happen to be my favorites ;)

Wednesday, April 29, 2015

guest star at Winnie & Walter - premiere Lola's Bouquet

If you're looking for my mixed media card for The Card Concept, please click here.


Back for day two as a guest star for the Winnie & Walter April/May release! If you missed day one you can find it here, and the Big Giveaway is here. Ready for some floral stamps?

Today it's about a stamp set created with Joni A. of The Talent - In Bloom: Lola's Bouquet.  Yay, Joni! It's a multi-step stamping set, you can see the full set here.

I created several cards. Here we go.

CAS. Me likey.


Pretty simple with masking. I stamped the sentiments from The Big, the Bold and Friends then nestled the vase from In Bloom: Lola's Bouquet into it. I masked the vase and stamped the blooms and their centers in black. Then I drew stems with a Sharpie. I replaced the mask with its negative and stamped all the dots (from Scenery: Big Bang Confetti) with yellow, red and blue inks. Voila!


Can you say Murano glass? There are actually teeny tiny dots in In Bloom: Lola's Bouquet which you could use for this technique too.

Simon Says Clean and Simple at the Wednesday Challenge blog. OK. I'm in!

Next, inspired by this pin, and using the roses from this set, I created this card.


Clustered the roses, some red, some pink and some left black and white. In a nod to the first Kate Spade inspired card I ever made, I decided to adhere the panel to a yellow base. Thus the embossed sentiment (from The Big, the Bold and Friends) in yellow too.


The strip of PP along the edge is B/W, (but glossy and reflecting the light goofy in the photo). I added a couple tiny pieces of B/W washi and a gold die cut heart to fill the empty bottom corner.

Ready for more? The next two were Maria-trying-to-think-outside-the-box. The first stamp in the set that actually caught my eye was the filler image that immediately made me think of dandelions. Maybe cuz it's that time of year again ;)


I stamped some of the bloom outlines in two shades of yellow on my creme cardbase. Then I watercolored a panel sky blue and created my meadow scene, mixing heat embossing and dye inks. The wafting seeds (headed for my yard, no doubt) are actually those three little dots you can see near the top middle of the set! Just love those little dots.


Another image I love is the one I've stamped in two-tone yellow in my meadow scene. Isn't that fabulous? I added a sentiment (will premiere on Friday) and a touch of washi and called it done.

Even further outta-da-box... did you notice the rectangular vase in the set? (There are over 50 stamps in this set, folks!)


I channeled my inner Mayuri and had a go at it. I was also inspired by Shirley B. and Darnell K. Can you guess how?

The sentiment is part Sugar Rush and part gotta-come-back-on-Friday . Yep, more individual words, but in a fabulous new font.


Channeled myself here. The solid red rectangles were stamped using the reverse of the vase stamp. The impression wasn't great although I had used some foam adhesive to fill in the hollow area of the rectangle when I applied it to my acrylic block. So I grabbed a star stamp and added a few stars to the red rectangles. Complementing the die cut stars from Big Bang Confetti cutaways.

News flash: my Cutaways arrived this morning so I ran to my Big Shot, grabbed the Fiction paper pad from Basic Grey and created these two cards.


I used the Audrey Cutaways for the scalloped edge mats and butterflies, In a Word: Hello and on the second card The Big, The Bold Friends.

Whew! If you stuck around til the end, vielen dank! If you're hungry for more, come back tomorrow for another lovely floral set.