Showing posts with label Neat and Tangled. Show all posts

Wednesday, August 3, 2022

commissioned birthday cards

And today's summer programming, more commissioned birthday cards. 

Requested for a brother whose car is his pride and joy. I made three to choose from...

TAWS car stamp
Artemio cityscape stamp
Winnie and Walter sentiment stamp

Right at Home Holidays are on the Way die
washi tape

Renke die
Inkystamp sentiment
alcohol ink background, embossing powder

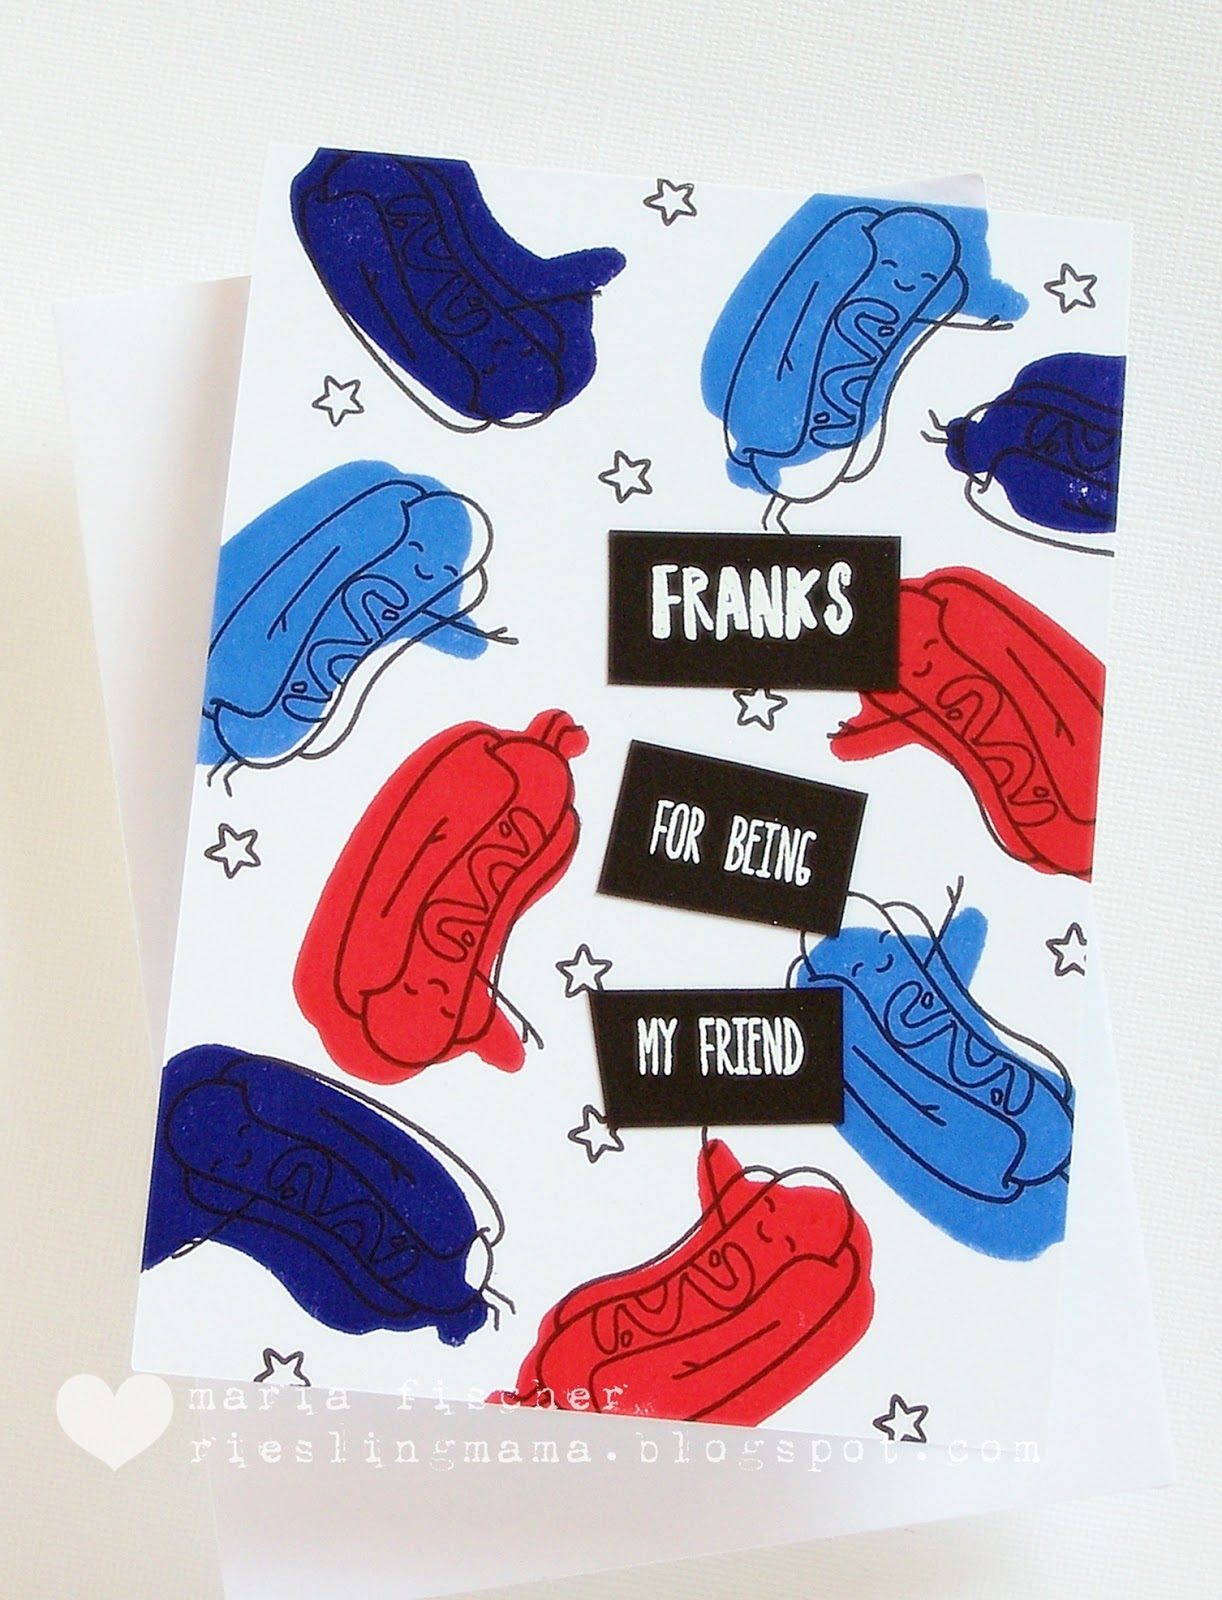
And for a butcher ;)

Neat and Tangled Hot Dog stamp
Inkadinkado sentiment

Have a great week!

Thursday, February 4, 2021

using up gelli prints

Needed a masculine 25th birthday card (for DS's friend). Enter my gelli print stash. And a cover plate die. I revisited a design I really like.


Kelly Purkey Follow Your Heart die
gelli print, vellum, silver embossing powder

I love these geometric patterns. And I love them paired with artsy, fartsy gelli prints. What do you think? And you can't beat silver embossing powder for masculining up a card.

I'm hooking up at:
Papercraft Challenges - Heat or Dry Embossing
Always Fun Challenges - Card for a Friend
SSS Wednesday - Love is in the air (card #2)


Thursday, November 28, 2019

which one would you choose?

Been meaning to share this post for a while. A bit ago I was asked to make two cards for guys' 60th birthdays. One for a winemaker I actually know. The other for someone I don't know - except my friend said he's with the police and likes meat! Um. OK.

Should you have any questions to supplies, just ask.

Winemaker was easy.


Grateful for wine labels I got from Jacqueline years ago, I put one to use and carried on the gold theme with grapes and various collage elements.

As for the other guy, I was pretty clueless. So I searched the internet for milestone card ideas. Made several so she could have a choice. Which one do you think she chose? Which would you choose?

I kinda carried on the wine feel for this one.


And then gave a gatefold card a la Jennifer M. a try. Great way to stretch your cover plate dies too!


Next up, gave another cover plate die a shot. With kinda police colors ;)


And then I grabbed an alcohol-inked BG from my stash and turned it into a more playful card.


How about a deluge of confetti to celebrate?


Then there's the party props to support the giant "60".


And finally, the only "meat" stamps I owned...


So which one did my friend choose? Yep, the hot dogs! Though I'm happy to report she bought the blue geometric cover plate version and the alcohol-inked one too ;) Do you have a favorite?

Hope your Thanksgiving is/was wonderful. We celebrated last Sunday and I must admit I'm happy the preparations are over, though I'm still eating leftovers ;)

I'm joining the fun at:
ETA: Did someone say Circles? I'm hooking up at Day of the Month Card Club.
SSS Wednesday Challenge- Anything Goes
AAA Birthday - Number

Friday, November 8, 2019

pretty in pink

Not that I intended it, but today's three projects all ended up pink-y.

First off I needed a 50th card for a friend. I CASEd myself (you haven't actually seen the male version yet) and for some reason I chose RV63, RV66 and RV69 for my color scheme. So this happened.

Copics

 I like how the minimalistic sentiment on vellum doesn't take away too much of that fun geometric design.


Then I had a play for the current Altenew challenge. Have you seen Aga's card? Lovely. As usual.


I should preface these next two by pointing you in the direction of Keren T's whose video I had just watched - mesmerized.

So then I sat down with the new-to-me stamp set and dies and for whatever reason, pulled out my collection of gelatos and gelato-like things. I think it was the video that made me think I needed to use my fingers to smear some color around ?!?

This happened.

Gelatos
Altenew Morning Frost ink

I did not actually smear the gelatos on the bloom on the card. Cuz I had smeared the gelatos on another bloom and it was not a good idea. Just left the haphazardly applied strokes of color and then treated my leaves the same way. Added a hint of stenciling to the kraft cardbase, "happy birthday" to the inside and called it good.

 In an attempt to save the smeared bloom I mentioned, I just added more gelato over the smeary mess. And left it unsmeared. Inked up two more leaves with green ink and made a tag.

Cuttlebug With Gratitude die
Gelatos, Nuvo drops
Altenew Morning Frost ink

I'm going over to The Flower Challenge with this too, where it's about adding spots or stripes. Added "stripes" of color to the bloom on the card. And "spots" of Nuvo drops to the tag ;)


Friday, June 22, 2018

simon says stamp classic bicycle - rainbow

I hope by now you've checked out the Simon Says Stamp Good Vibes release. I've got two more cards made with one of the fun dies from this release - Classic Bicycle.

Can you say ROYGBIV?

distress inks


I'd wanted to use just a portion of the bike and had the idea of looking out a window at it. But that detoured into this more artistic version. Whatever. Pretty basic. Cut a mask. Stamped the stripes. Spritzed with perfect pearls/water mix. Adhered the die cuts. Adhered the frame. 

For the second card I die cut the bike from Neenah CS and Copic colored it with a rainbow. Easy peasy. I put this bike on a 4" circle card. Fits into a regular envelope.

Copics (13 colors!)
washi
white embossing powder

That's all for now folks. Have you checked out the Simon Says Stamp blog for the entire release and hop yet? Thanks for coming by my blog today.

I'm taking these over to:
SSS Wednesday challenge - Bright and Cheerful
Fusion - Primary Bookcase
Just Add Ink - Window or Frame
Happy Little Stampers - June AG with Dies


Thursday, June 14, 2018

experimenting with stencils

Hey! You may have seen this card I made for the June release week at Neat and Tangled...


To achieve that background I put the stencil down, applied some yellow ink through it, randomly changed the position of the stencil and inked with orange and then randomly positioned the stencil again and inked once more with pink ink. The resulting background adds interest without being too "graphically stenciled."

Today's card was actually the forefunner to that card. As in, graphically stenciled ;) But the idea for changing the position of the stencil originated here.

Mustard Seed, Carved Pumpkin and Picked Raspberry distress inks
embossing paste
Stampendous Moonstone embossing powder

For this card I inked the entire panel with yellow through the stencil which was placed square on the panel. Then I rotated the stencil 90 degrees and inked with orange. Then I shifted the stencil slightly (half a square) and inked with pink. Then for the icing on the cake I shifted the stencil a little again and added some pearlescent embossing paste onto random areas. The paste absorbs a bit of the pigment from the Distress Ink. Talk about an experiment! And mixed media fun!

I heat embossed the blooms onto vellum and then loosely adhered them to white die cuts so they wouldn't get lost on the background. The sentiment is heat embossed onto a black cardstock snippet.


As the sentiment says "beauty is everywhere". Try experimenting with your stencils to create beautiful, unexpected backgrounds. And have fun doing it! Thanks for looking.

I'm joining:
SSS Work it Wednesday - Summer
That's Crafty - A Summer's Day
The Flower Challenge - Use a Previous Challenge (vellum/acetate)

Friday, June 8, 2018

neat and tangled release - receding blocks

Howdy and welcome to the last day of special programming! Today is the wrap up of the June Neat & Tangled release countdown and today I'm sharing my creations with the new cover plate! Today is graphic goodness pure.

Meet Receding Blocks. I tried to keep things traditional, but with a modern touch. First off, a feminine version.

Neat and Tangled Magnolia stamp
 Neat and Tangled Receding Blocks die
Altenew ink
gold embossing powder
washi

First I dry embossed my cardbase with the cover plate die. In this photo you can see how amazing that texture looks. Like a fluffy comforter!


I added a strip of washi and a thin strip of inked CS along the bottom. I like this look but it's more often cuz my cardbases are from A4 size paper here in Germany, and a bit longer than the cover plate die size ;)  I die cut the piece with the triangles and masked it with tape and inked bold stripes onto it. Adhered it with foam squares. Tucked a heat embossed sentiment under it on the left. I added a bloom - heat embossed on vellum and backed with a plain white die cut piece to keep the stripes from showing through - on the right.

Navy. White. Touches of gold. Me likey.

Then I created this card using only a portion of the die cut cut with the cover plate. Went masculine on this one using black and white with a touch of blue.

 Neat and Tangled Receding Blocks die
Neat and Tangled Photo Booth stamp (sentiment)
 white embossing powder

Check out the Neat and Tangled Blog to see all of the wonderful inspiration and take part in the daily giveaways! All products showcased this week will be available today Friday, June 8 at 8am EST in the shop.

Thank you all for visiting this week and again, thanks to Danielle and Neat and Tangled for having me!

Thursday, June 7, 2018

neat and tangled release - hot dog

Howdy and welcome to Day 4 of the June Neat & Tangled release countdown and I'm back with my creations with these new products! Today's set is just plain fun.

Today we are showcasing the Hot Dog stamp set and matching dies. I immediately thought of  "baseball, hot dogs, apple and Chevrolet" (you're welcome for the ear worm if you're my age, if you don't know what I'm talking about you better go listen ;)

Anyhoo, since I was thinking all-American, I had to go with red, white and blue, right?

Neat and Tangled Hot Dog stamp
Altenew inks

So, while we're talking "blast from the past", do these jumping hot dogs remind you of the ones at the drive-in that encouraged you to go to the concession stand?

This card was super easy to make because when you have stamp sets that provide two stamps that are mirror images of each other, you can use the reverse of one to add color to the other. 

I stamped the solids first - creating a triangle of each color. See? Then I went back with the outline stamps and stamped them slightly offset. I love this technique cuz I'm not a great colorer. You don't even have to pull out markers or pencils. And it saves lots of time! 

And then, because I had to give one hot dog his place in the limelight, I created a super CAS version. I did pull out a red and yellow marker to dress him up with some mustard and
ketchup ;) I'm more of a mustard gal. Probably cuz of all the bratwurst I eat. And you?

 Neat and Tangled Hot Dog stamp
Neat and Tangled Hot Dog die
washi

The hello strip is stamped (with my MISTI), then I added a strip of washi and for the trophy I swiped some Delicata gold ink onto CS, stamped and die cut it. Can you see the shimmer here? I think this could be a birthday card or just a card to let someone know they're a top dog. Hot dog ;)


Check out the Neat and Tangled Blog to see all of the inspiration and take part in the daily giveaways! All products showcased this week will be available on Friday, June 8 at 8am EST in the shop.

Thank you for visiting today and thanks to Neat and Tangled for having me! Now how about another,  even more appropriate ear worm... "cuz Oscar Mayer has a way..." . How's that?

Wednesday, June 6, 2018

neat and tangled release - magnolia

Howdy and welcome back to Day 3 of the June Neat & Tangled release countdown and I'm excited to be joining the talented DT this week with my creations with these new products!

Today we are showcasing the Magnolia stamp set and matching dies. Now of course you could go all "magnolia-y" with it. But I chose to use the images as generic flowers.

I also used a stencil from this release which previews tomorrow, Squares. And some yummy Distress Inks in Mustard Yellow, Carved Pumpkin and Picked Raspberry.

Neat and Tangled Magnolia stamp
Neat and Tangled Magnolia die
 Neat and Tangled Squares stencil
Distress inks
white embossing powder
Heidi Swapp Black Velvet color shine
crepe paper

For my background, I applied ink (starting with yellow) through an area of the stencil onto an area of the cardbase. Then I rotated the stencil a bit and applied orange. Rotated it again and applied pink. Added a few of the smaller blooms along the left edge in the same colors. Then I added splatters and stamped the sentiment in black. Isn't that sentiment beautiful?

Stamped the bloom in black onto CS inked with the three colors and die cut it, along with about 10 layers of orange crepe paper. Stitched the crepe paper layers together and then decided it was too much black. So I heat embossed the bloom in white and die cut it. I adhered this one to the top layer of crepe paper, fluffed it all up a bit and voila!


Of course I couldn't let the bloom stamped in black go to waste, so I spritzed it with some perfect pearls/water mix and created this.

 Neat and Tangled Magnolia stamp
Neat and Tangled Clearly Canine stamp (sentiment)
Neat and Tangled Magnolia die
 washi
Distress inks


Check out the Neat and Tangled Blog to see all of the wonderful inspiration and take part in the daily giveaways! All products showcased this week will be available on Friday, June 8 at 8am EST in the shop.

Thank you for visiting today and again, thanks to Neat and Tangled for having me!

I'm joining the In the Garden challenge over at Penny Black and More and Flora or Fauna (I'm going Flora with these summertime cards) at As You Like It.

Tuesday, June 5, 2018

neat and tangled release - clearly canine

Howdy and welcome back to some special programming! Today is Day 2 of the June Neat & Tangled release countdown and I'm joining the talented DT this week with my creations with these new products! Today is graphic goodness pure.

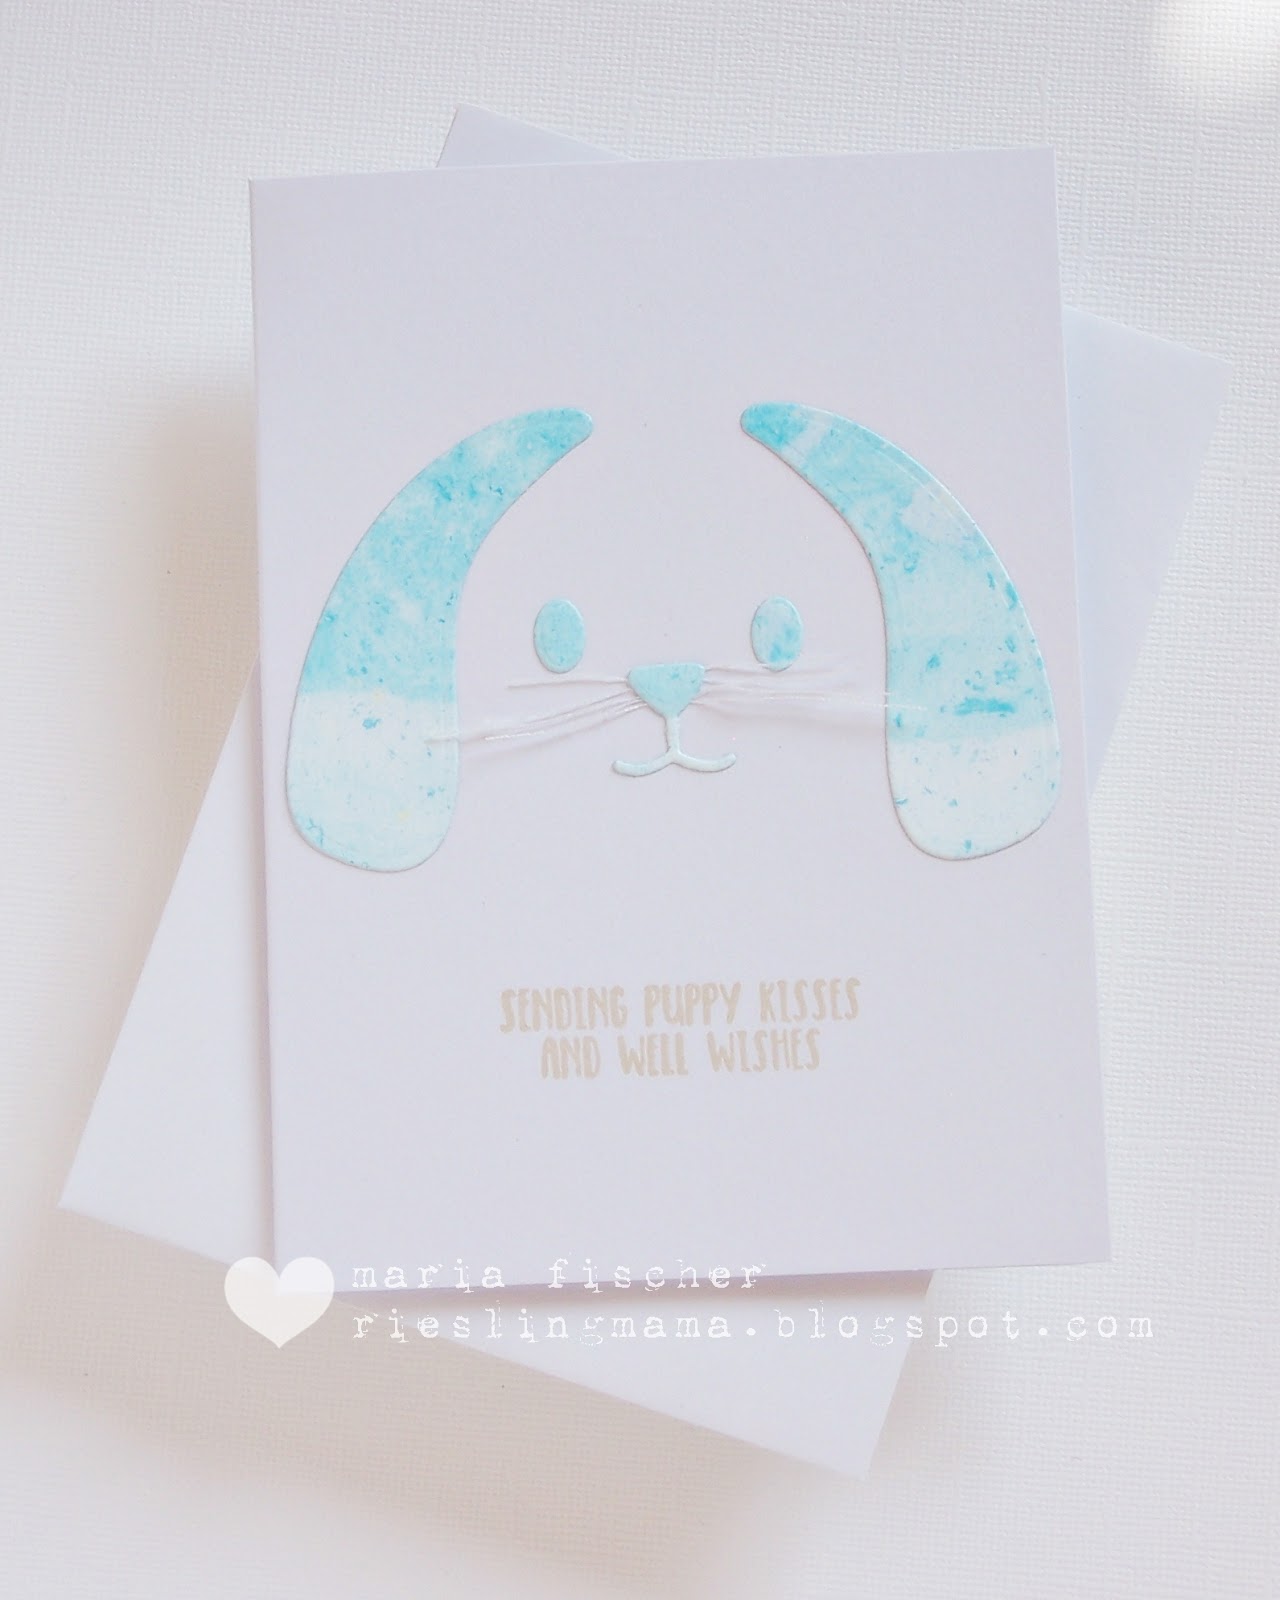
Today we are showcasing the Clearly Canine stamp set and die. I got a "soft and sweet" vibe from this cutie so pulled out some CS I'd marbled with alcohol inks and went from there.

Neat and Tangled Clearly Canine die
Neat and Tangled Clearly Canine stamp
enamel star
washi

This was really so easy. Die cut that sweet pooch's face from the panel and stitched it just along the top to a piece of PP. I like the effect of the shadows when the papers separate so I didn't want to glue it down completely. Added a tiny sentiment stamped in yellow and then adhered the panel (adhesive only along the top edge) to my cardbase. Again, cuz my top-fold base is cut from A4 but the marbled panel was letter size, I added a strip of washi along the bottom of the base. I like the little something it adds peeking out.


What to do with the positive pieces? As you know, I can't throw anything away. So this CAS card was born.

 Neat and Tangled Clearly Canine die
Neat and Tangled Clearly Canine stamp
Versamagic Wheat ink
thread


Easy peasy. I used the negative to get the placing of the pieces right (although you can experiment with eyes/ears further apart/closer together for some fun looks). Just added a few strands of white thread as whiskers!

Check out the Neat and Tangled Blog to see all of the wonderful inspiration and take part in the daily giveaways! All products showcased this week will be available on Friday, June 8 at 8am EST in the shop.

Thank you for visiting today and thanks to Neat and Tangled for having me!

I'm taking these over to the Anything Goes Simon Says Stamp Wednesday challenge, Cards in Envy Let's Hear it for the Boys, Die Cut Divas - Animals and Clean and Simple at Addicted to Stamps and More.
.