Showing posts with label tags. Show all posts

Wednesday, February 9, 2022

having fun (avoiding the hard work)

Hi peeps. I'm in the midst of moving my craft room from my basement laundry room to a kid's bedroom. What a luxury. What a hard task! At least I'm making it difficult for myself. Should have purged first but I didn't. When it all gets too overwhelming, I submerge myself in some irrelevant little project. But man is it FUN!

Scrap paper strips. I am assuming we all have them or is it just me?

I've got a little bucket full of them. So I sat down with them, scrap cardstock and a glue stick. First I cut a large circle, and then a word from the circle...


Then I cut multiple circles from what was leftover and created this card! Doesn't it look like a bunch of planets? Thought the sentiment was fitting.


I had more strips (of course) so I made more things (of course). With some of my manila tags and dies that haven't seen the light of day for a while. Guess that's one very good thing about moving/organizing your craft room ;) Figure I'll add a die cut initial on a vellum circle to these to use as gift or wine bottle tags.


And I'll be back with some Valentines made with, any guesses? Scrap strips of course.

I'll leave you with a shot of my current situation. It's still a work in progress. Moved into DD's old room. But now I'm wondering if I shouldn't have moved into DS's old room. It's a bit larger and has more light...


Friday, December 10, 2021

tag a la therese for day 3 of ellen hutson christmas tags

I actually look forward to this every year - Ellen Hutson's 12 Days of Christmas Tags - though sometimes my lack of planning ahead with holiday preparations gets in the way of crafting. Like in 2021. Dang.

But two birds with one stone... Got all my Christmas cookies baked with DD. I'm gifting neighbors cookies this year. DD recently moved into a new apartment and she's decided to gift her new neighbors with cookies too. So of course I offered to make some tags for her cellophane bags.

Enter Ellen's tag event. And Therese's bold and graphic Feliz Navidad tag. And exit stage left. 

Actually, I was inspired to use my new hexagon dies. And make a layered tag. And stamp a sentiment in a foreign language. But that's where the similarities end.

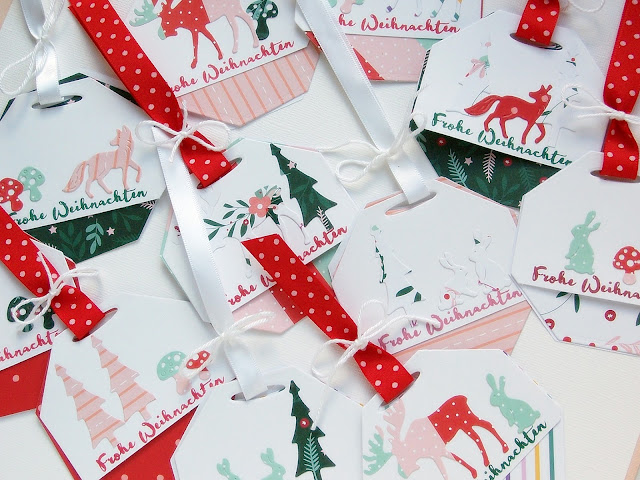
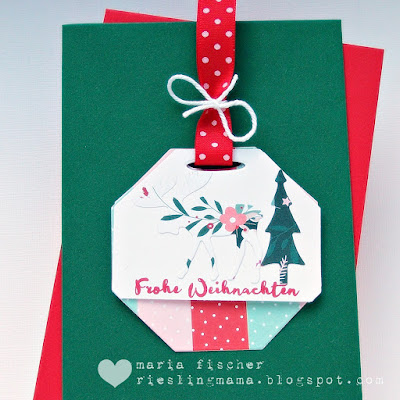
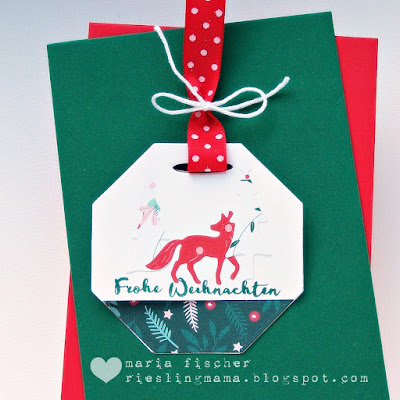
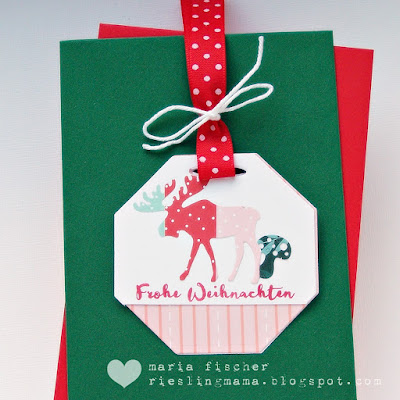
Meet my tags, a la Therese but more DD's style.


A couple close ups...


Action Deutschland Hexagon die
Aldi patterned paper pack

I'm hooking up over at Just Add Ink too where they're looking for Christmas Gift Card Holders or Tags as well as at Happy Little Stampers AG with Die Cuts for December.


Wednesday, January 15, 2020

STAMPlorations digital stamp bloomdala coffee-to-go

I'm over on the STAMPlorations blog today with four digital stamp projects. You could win a $15 GC to the store for comments left here and there. Just sayin...

So. I'm pretty much a newbie to digital stamps. I love getting inky with actual stamps. And I'm a pro at ink smudges. But there are some benefits to digi stamps - no smudges, perfect coverage without a MISTI, image resizing, even layering images (though I've yet to give that a try).

I grabbed me a couple digital stamps from the STAMPlorations digi store (where all digi stamps are 30% off til end of January) and used good old Microsoft Word and my Canon ink jet printer to give them a try. I recommend this post for a great intro to digi stamps. It's where I figured out how to print them using Word.

Today I have printed from Bloomdala Coffee Cup to Go four cups in their original size, colored them using different techniques, fussy cut them and turned them into tags. Ready to learn more?

1.  My first thought was I had to "rainbow" a cup. Cuz... why not?


Since I knew I would use alcohol markers, I printed the cup on Neenah Solar White cardstock. My markers are from Action Deutschland, they're similar to Touch markers. Though I did try to keep within the lines, I noticed no problems with the printed image bleeding.

I added a purple gem to the center to add a spot of bling to the tag.

2.  For my second cup I chose kraft cardstock and colored with Prismacolor pencils.


Here I also used Neenah kraft, it's nice and smooth and the Prismacolor pencils work great on it.

3.  My third cup nearly ended up in the garbage can. I thought I'd be clever and print on colored cardstock and then just apply some quick color with distress inks...


...not so pretty. Here's where my lack of experience with digis comes in. I think somehow there was some "smearing" with the water-based inks

Could be a cardstock issue. I used Hero Arts Arctic. The surface is more grainy.

Could just be the result of using distress inks on colored cardstock. (The photo you see above is after I decided to try to make it work and applied even more ink and some darker colors. I had originally hoped to just put down some pink tones on that bloom that comes in on the left. That really didn't work.)

Could be the ink wasn't completely dry. I've read you should use your heat gun to dry the printed images, or let them dry 24 hours before coloring. Don't know. (All I know is after this I did dry my other printed images with a heat gun!) It was, as I've heard many cardmakers say, a hot mess. Maybe I'll try distress inks again, on a heat-dried image printed on Neenah white to see what happens. (And to think I was just trying to save myself some time using an "easy coloring method"!)

But my perserverance paid off. After adding more ink and darker tones, I masked the lid, applied Versamark and holographic embossing powder and voila!


The image is still there. Tough to capture on camera however!


4.  My last cup is watercolored. I love the result - makes me feel all Debby Hughes-ish for some reason ;)


It's funny, I had no plan for the coloring. Only knew I wanted browns and blues. Pulled out my Altenew watercolors. I started at the left edge and worked my way right, deciding on the colors and color placement as I went along.

BTW, I printed the cup in light gray onto Derwent watercolor paper. In Word, in the Picture Tools "Format" tab, under the "Color" tab there is a "Faded" option. I used this and it printed in a light gray. Thought this would be good for this technique, similar to stamping in a pale color ink before no-line watercoloring. No problem with the image smearing or fading, even with the addition of water.

Don't forget to leave a comment here.  And here too, for another chance to win.

May your coffee be strong and your work week short!

I'm playing over at:
Always Fun - One Layer
The Flower Challenge - Shaped Cards (this coffee cup could easily be turned into a shaped card)


Tuesday, December 24, 2019

STAMPlorations inspiration #247

Welcome back for another Tuesday inspiration from the STAMPlorations inspiration team.

I had some fun with a new stamp set and some new PP that came to live at my house ;)

STAMPlorations Christmas Sentiments die
Tedi (Deutschland)PP pad

I let the PP dictate the feel of the card. Whimsical. So I pulled out some Art Marks and stamped them as a background to where I knew the tag(s) would be. I used a die cut sentiment and twine to give a little texture to this fun design.


For other ideas with this die check out this card. And this one.

You could win yourself a $10 GC to the store by leaving a comment on this month's inspiration posts! Check out today's post here. And I'd love it if you used my STAMPGIRLMARIA discount code for an additional 20% off if you're placing an order from the store - at no extra cost to you, just perks for me ;)

Thanks for stopping by. Hope you're having a lovely Christmas Eve. As you read this we should be enjoying a nice raclette dinner with the kids and my in-laws.

Thursday, December 12, 2019

spotlight on recycling old christmas cards

I'm over at STAMPlorations with a tutorial for environmentally friendly and quick and easy gift tags.


Saturday, March 9, 2019

simon says stamp - filigree heart

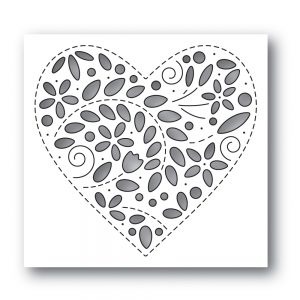
There's a blog hop happening right now over at SSS and boy are there some beautiful and innovative products. I received the Filigree Heart die to play with from the latest release over at Simon Says Stamp, Fresh Bloom.


I immediately got a Scandi vibe from this die, so set out to do some inlaid die cutting.


Since I was going to be die cutting from various colors I thought to myself, "Why not make a set of tags?" So two hours later, this had happened ;)


Be sure to check out the release if you haven't, and all the makes with it in the gallery at Simon Says Stamp. I'm happy I got to have some "fun" with this new die. Thanks mucho, Simon.

I'm playing at:
Inkspirational - Use your Stash (cardstock snippets)

Die Cut Divas - Anything Goes
Papercraft Challenge - CAS
Happy Little Stampers - AG with Dies March